Upload Media
Your shared file library — images, videos, documents — organized in folders, searchable, accessible from every entry.
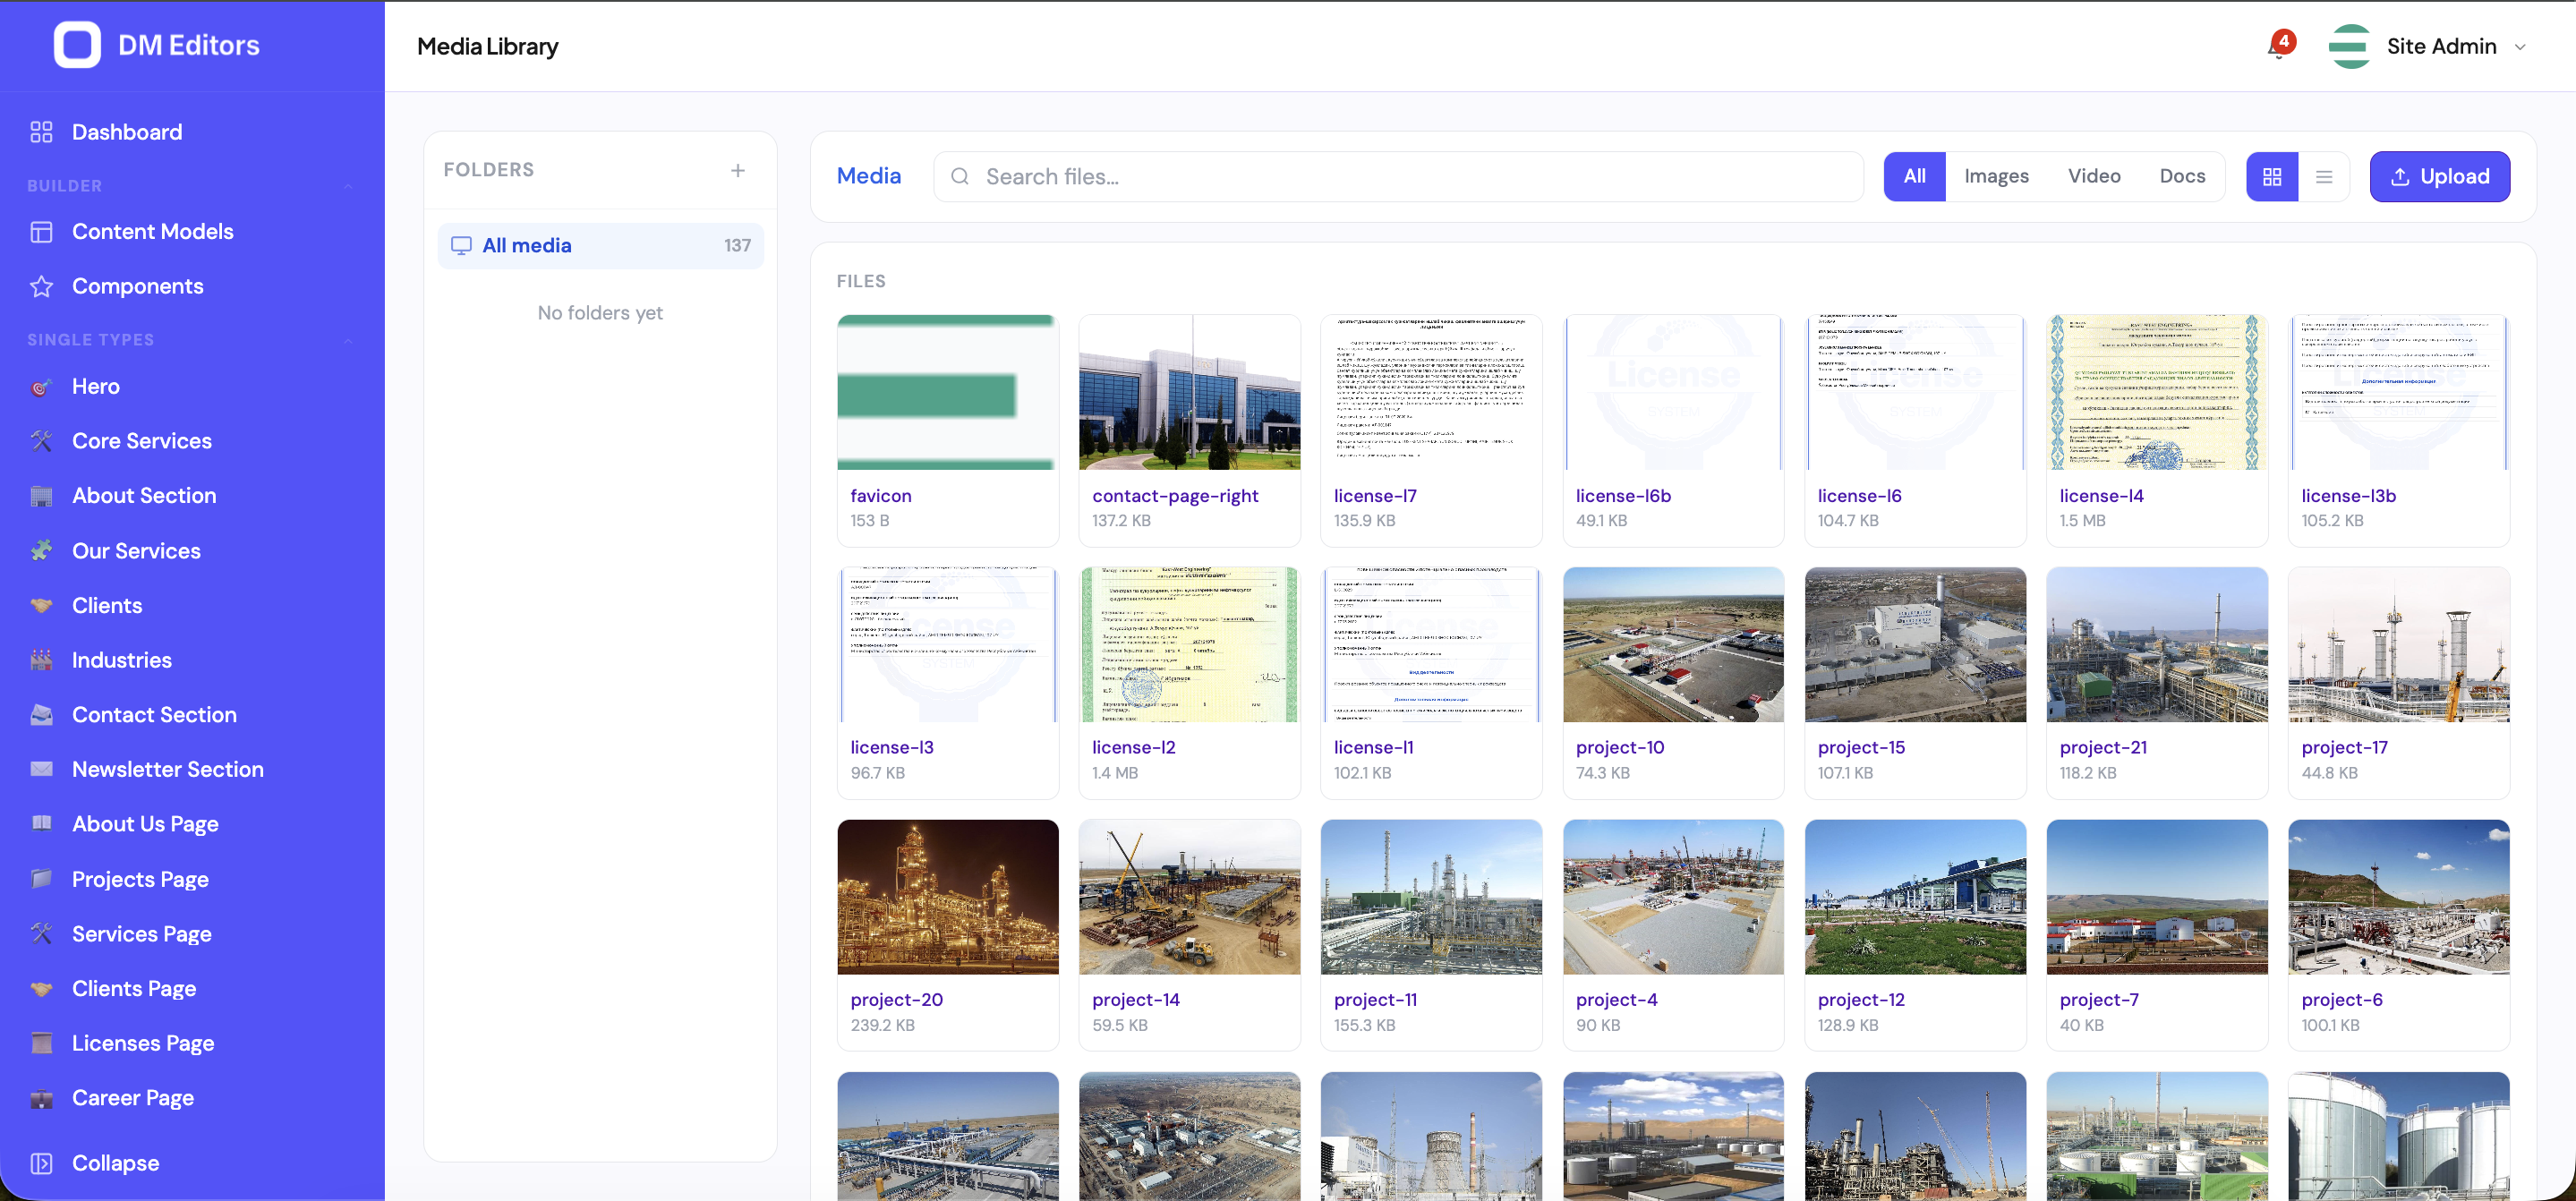
Open the media library
Click Media in the left sidebar. You'll see:
- A folder tree on the left.
- A grid of files in the current folder on the right.
- A filter / search bar at the top.
Upload files
- Open the folder you want to upload to Click it in the folder tree. (You can move files later if needed.)
-
Drag & drop files
Drag from your desktop directly into the grid — or click Upload to pick files.
Drop files onto the grid, or click Upload. - Watch the progress bar Each file shows a progress indicator. Failures (file too large, wrong type) appear inline with an explanation.
- Add alt text immediately When uploads finish, DM Editors prompts you to add alt text. Do it now while you remember what the picture is — it's huge for accessibility and SEO.
Organize with folders
- Right-click in the folder tree → New folder, or click the + button at the top of the tree.
- Name it (e.g. "Blog hero images", "Product photos").
- Drag files into it from the grid.
- Drag folders into other folders to nest.
Folder structure suggestionsOne folder per content type works well:
blog/, products/, team/, brand/. Add year sub-folders for high-volume libraries.Edit a file
Click any file in the grid to open the detail panel.
- Name — friendly display name (the original filename stays as-is on disk).
- Alt text — short description for screen readers and SEO. Required for accessibility.
- Caption — optional, may appear under the image on the frontend.
- Folder — move it elsewhere.
- Copy URL — the public link for sharing or embedding.
Replace a file
You can swap out the underlying file while keeping the same record and URL — useful for fixing a low-res photo without breaking links.
- Open the file detail panel.
- Click Replace.
- Upload the new version. Dimensions and size are re-detected.
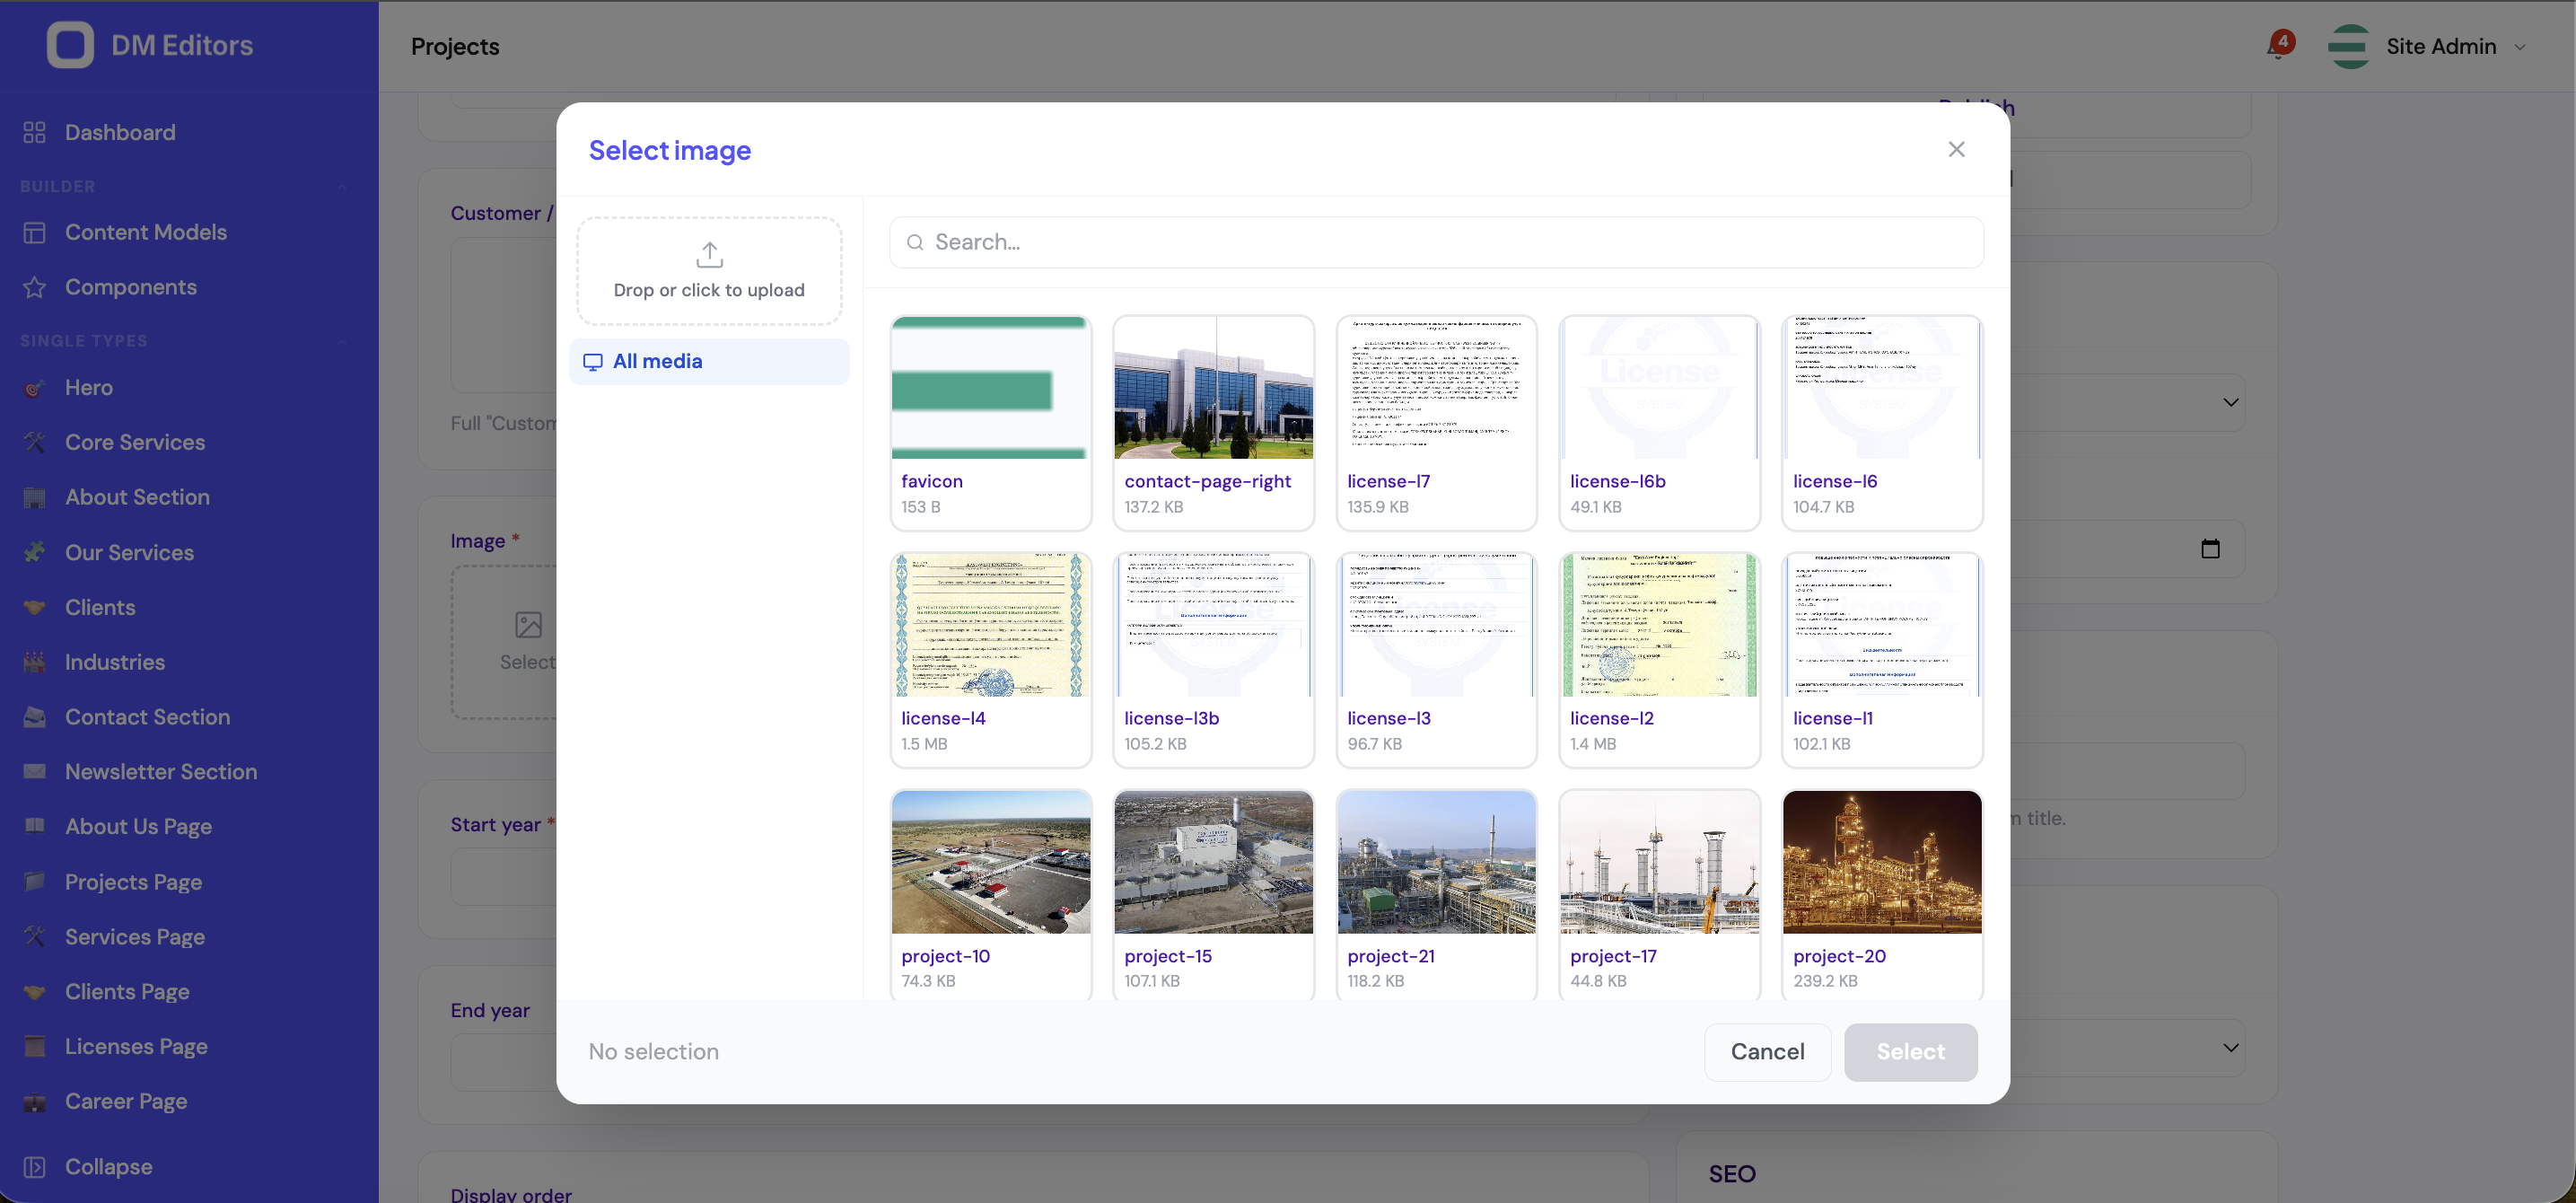
Use media in entries
From any entry form, click a media picker (any field marked "Media" or "Gallery"). A browser opens.
- Navigate to the right folder, or use the search box.
- Click a file to select it (tick multiple for a gallery field).
- Click Use selected.
Delete files
- Tick the files you want to remove.
- Click Delete in the bulk actions bar.
- Confirm.
Deletes are permanentUnlike entries, media deletions remove the underlying storage object. If a deleted image is still referenced by an entry, the entry's image field will return null on the next API call. Double-check usages first — the detail panel shows "Used in N entries."
File limits
Your admin can configure these under Settings → Media. Defaults:
- Max upload size: 50 MB per file.
- Allowed types: images (jpg, png, gif, webp, svg), videos (mp4, webm), documents (pdf), and a few more.
Next steps
Now let's build a contact form so your visitors can reach you.