Add Languages
Publish content in two, five, or fifty languages. Pick which ones you support, set a default, and translate as you go.
Add a language
-
Open Languages
Click Languages in the sidebar. You'll see your active locales.
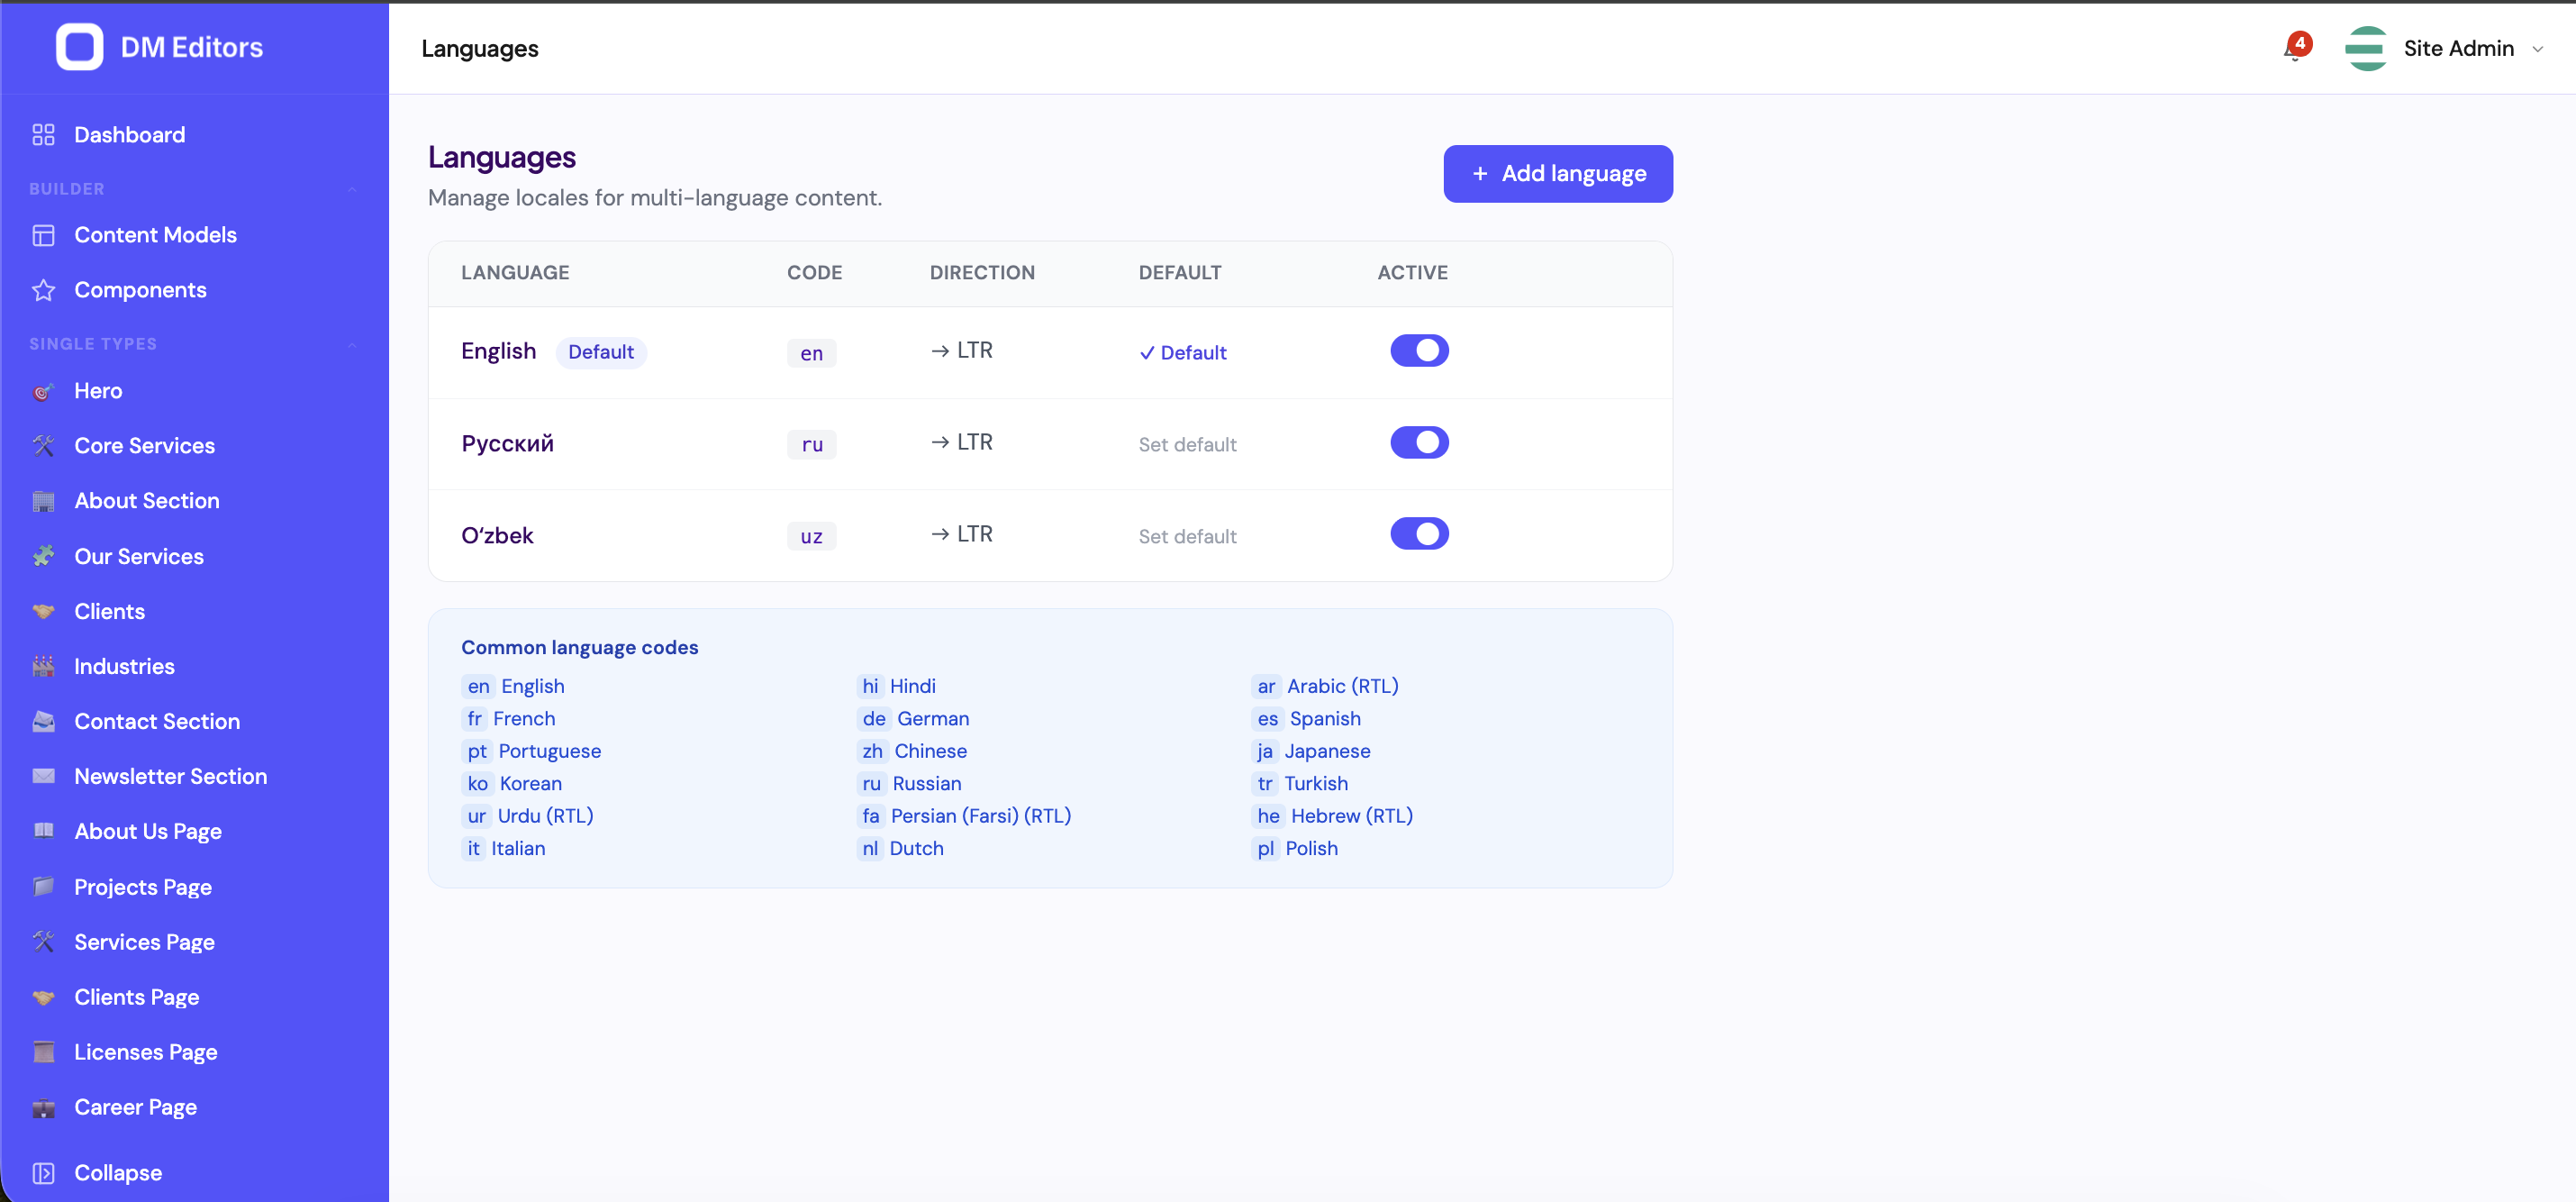
The Languages list with the common-codes helper. - Click "Add language"
-
Pick a code
Use the standard tag:
en,es,fr,hi,ar,zh, or regional variants likeen-GB,pt-BR. Auto-fills name and native name from a built-in list. -
Confirm direction
Most languages are ltr (left-to-right). Arabic, Hebrew, Farsi, and Urdu are rtl.
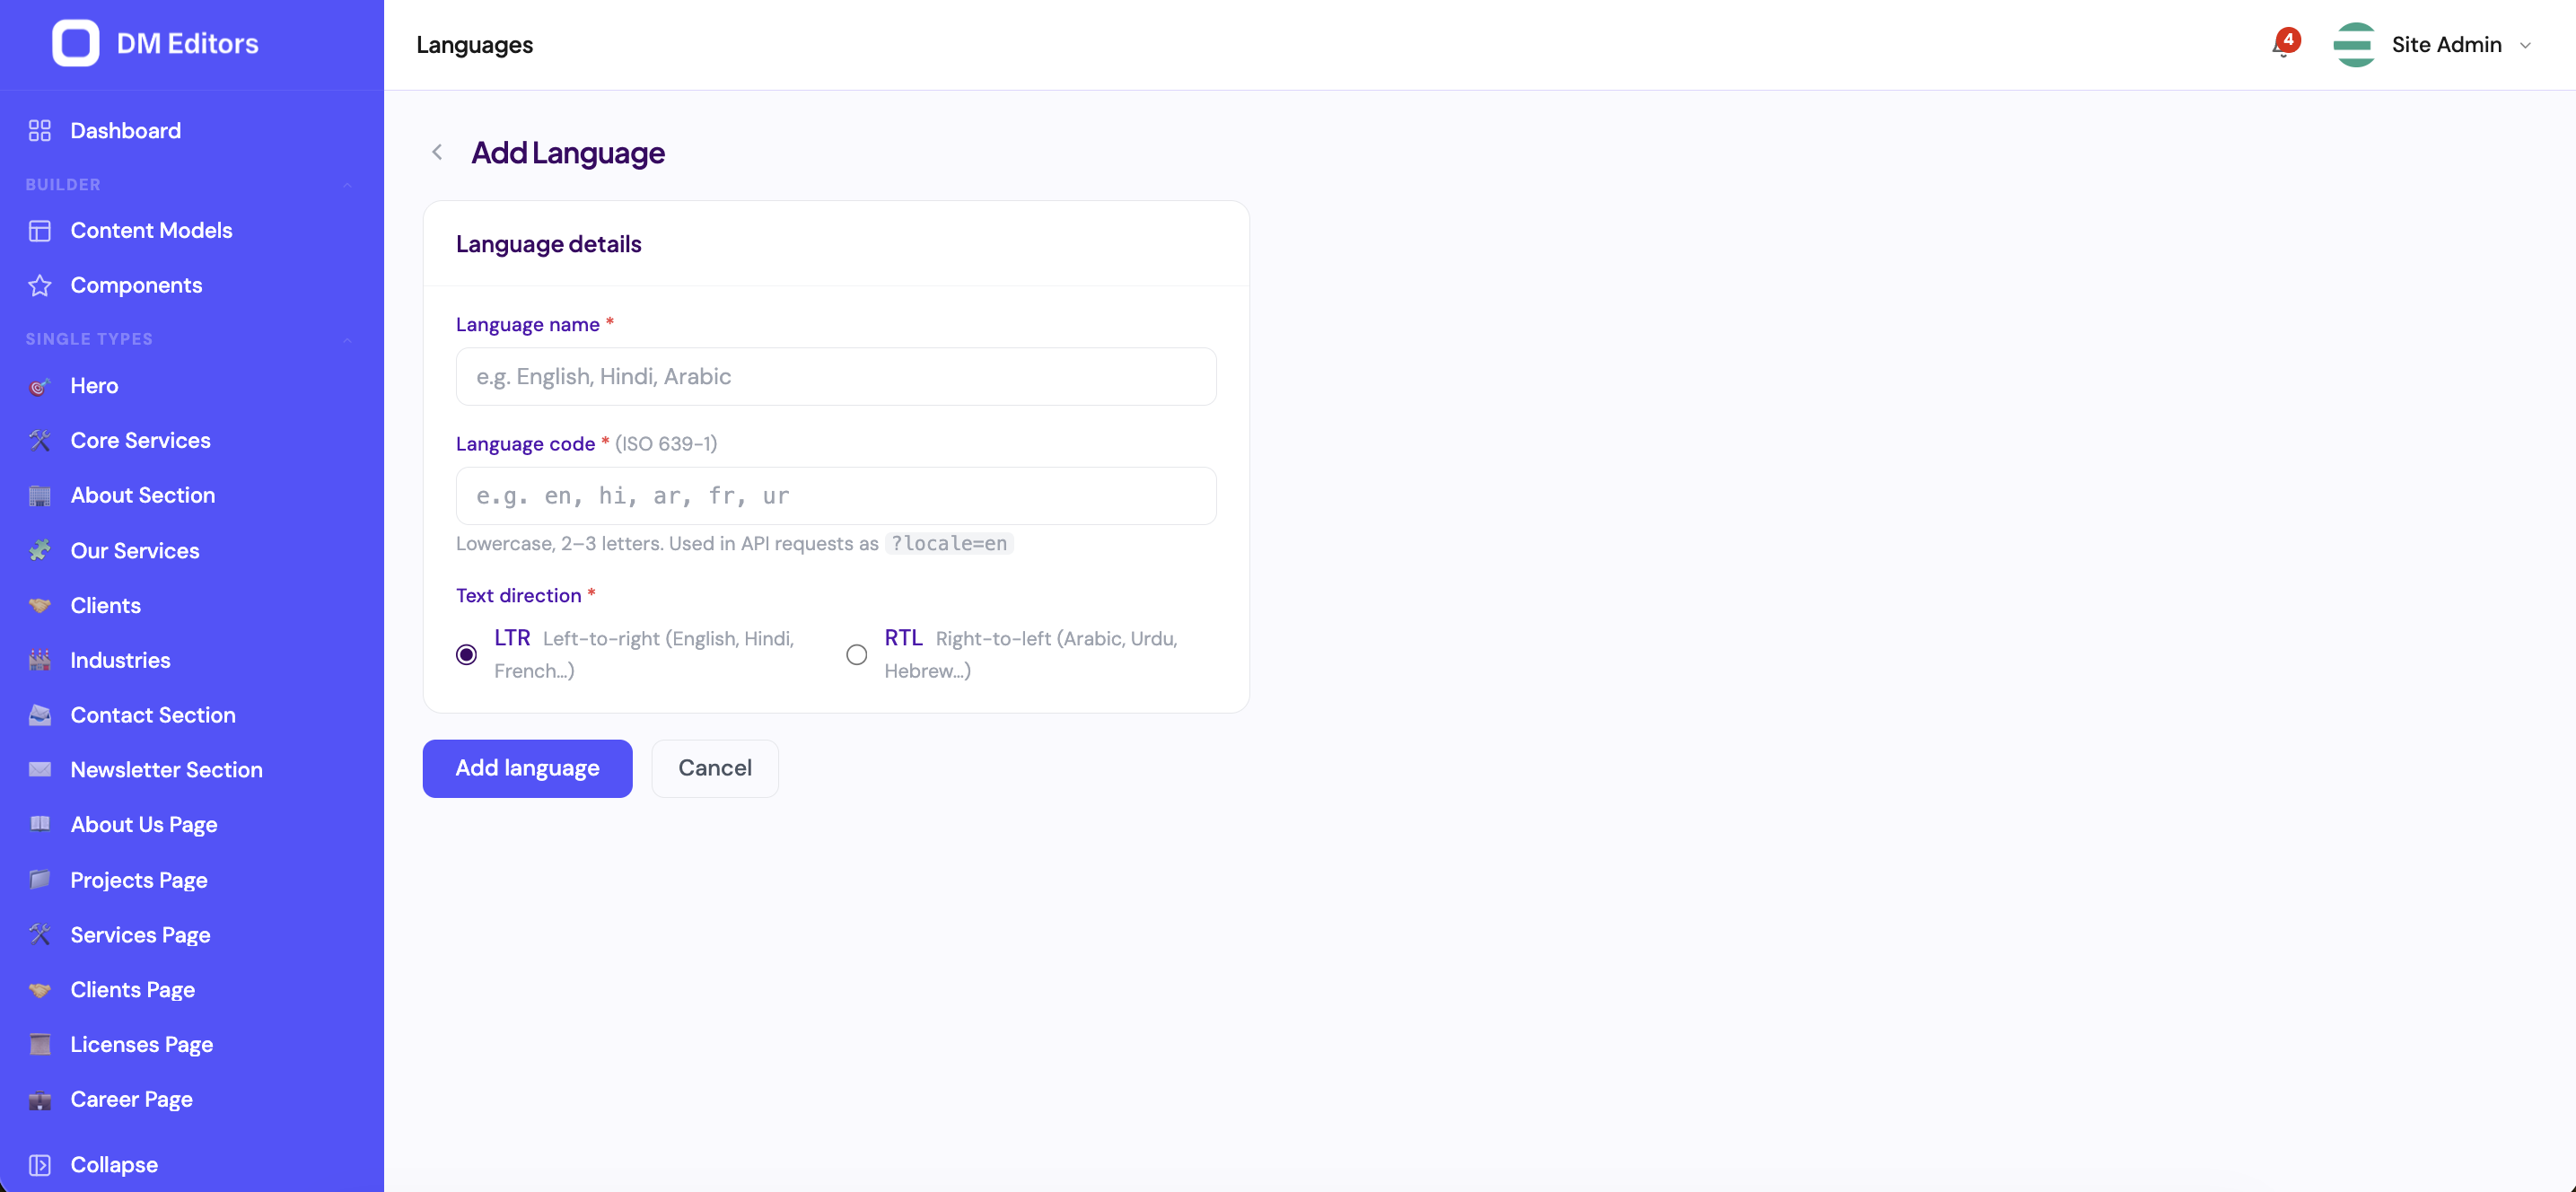
Adding a new language. - Save The new language appears in the list, ready for translations.
Change the default language
- Open Languages.
- Find the row, click Set as default.
- Confirm.
The default is what your API serves when a request doesn't specify a locale.
Enable localization on a content type
By default, content types are single-language. To allow translations:
- Open Content models, click the type you want to translate (e.g. Blog Posts).
- Flip the Localized toggle on.
- Save.
Now each entry has a language tag, and you can create one version per language with the same slug.
Translate an entry
-
Open the entry list for the type
You'll see a language switcher in the header (next to the search box).
Active locales (here English, Russian, O'zbek) are what appear in the entry-list switcher. - Open the entry you want to translate (in its source language)
-
Click "Add translation"
Choose the target language. A new editor opens, pre-filled with the source content.
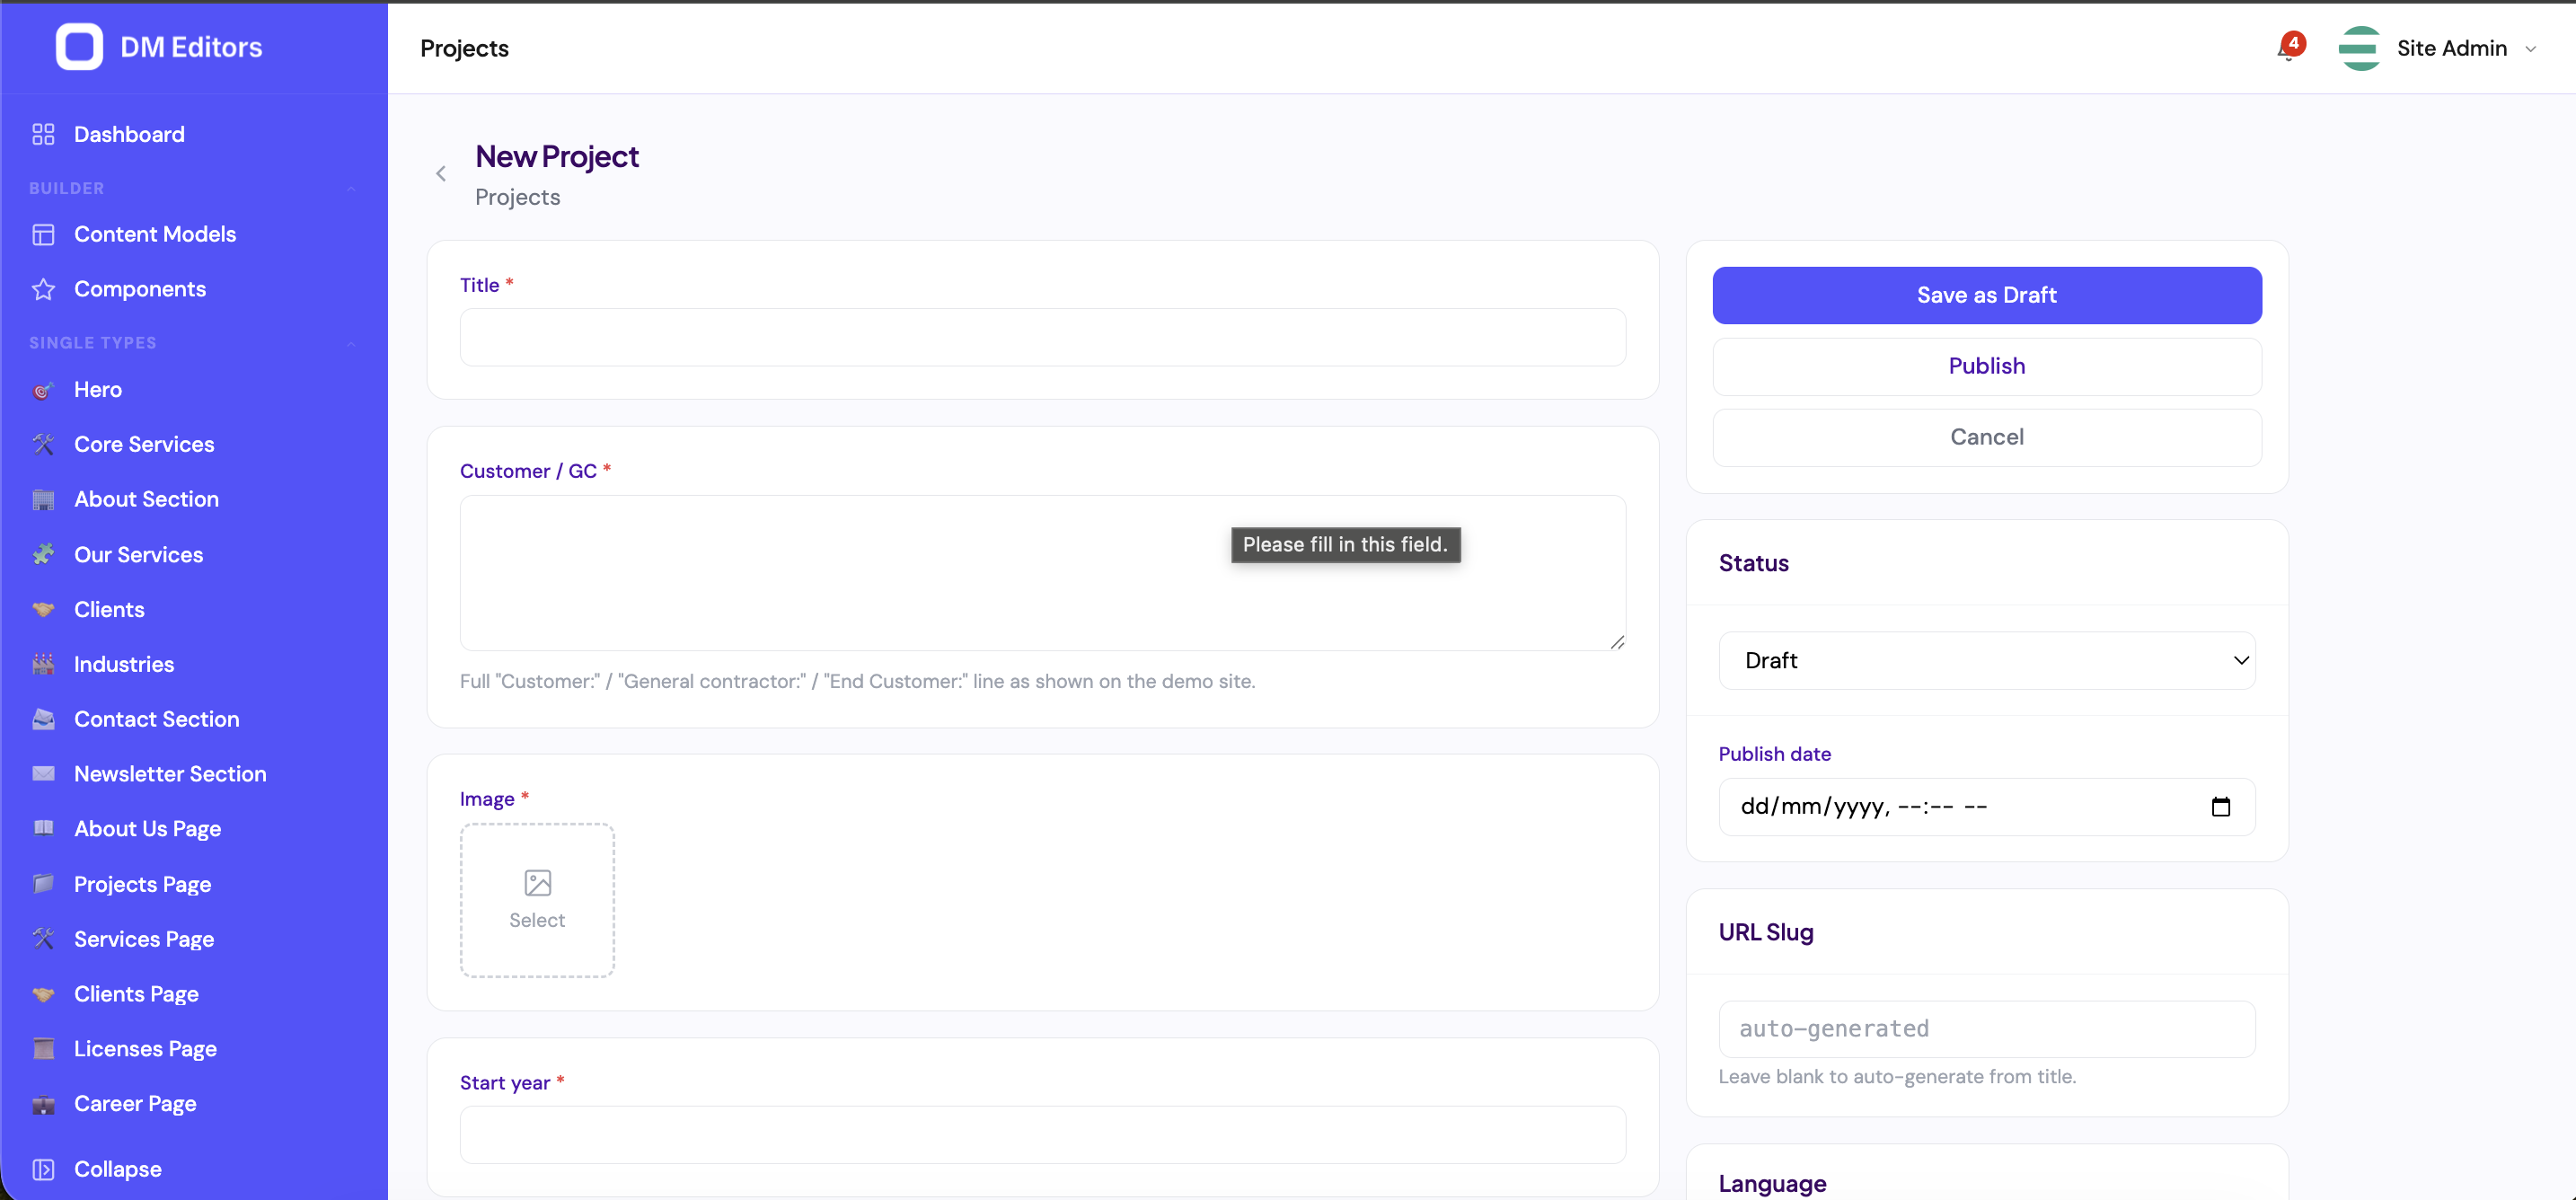
The entry editor opens with the source content pre-filled; switch language in the side panel. - Translate each field Replace the text in each field. The slug auto-updates based on the translated title (you can edit it).
- Save and publish The translated version has its own status — you can keep it in draft while the rest of the world sees the English original.
Translate settings
Settings like site name, tagline, and SEO defaults can be translated too. In the Settings screen, look for the small flag icon next to each translatable field — click it to enter localized values.
Pause or remove a language
If you launch a language but decide to pause it (e.g. you're hiring a translator):
- Pause — flip the active toggle off. The language disappears from the public locale switcher, but existing translated entries remain in the database.
- Delete — only allowed if it's not the default. Existing entries in that language are kept; you can re-enable later.
How visitors see translations
The frontend reads /api/v1/i18n/locales to build its language switcher, and includes ?locale=es on content requests. As an editor, you don't need to do anything special — once you save a translation it's available immediately.
Next steps
For your developer to actually pull your content into a frontend, they'll need an API key. Let's generate one.