Define Content Types
Before you can write a blog post, DM Editors needs to know what a "blog post" looks like. Content types are the templates your editors will fill in.
Collection vs single
Pick the right kind from the start:
- Collection — you'll have many of these. Blog Posts, Products, Team Members, Events.
- Single — there's exactly one per language. Homepage, About page, Footer, Privacy Policy.
Create your first content type
Let's build "Blog Posts" together.
-
Open the Content models screen
Click Content models in the left sidebar, then New model in the top-right.
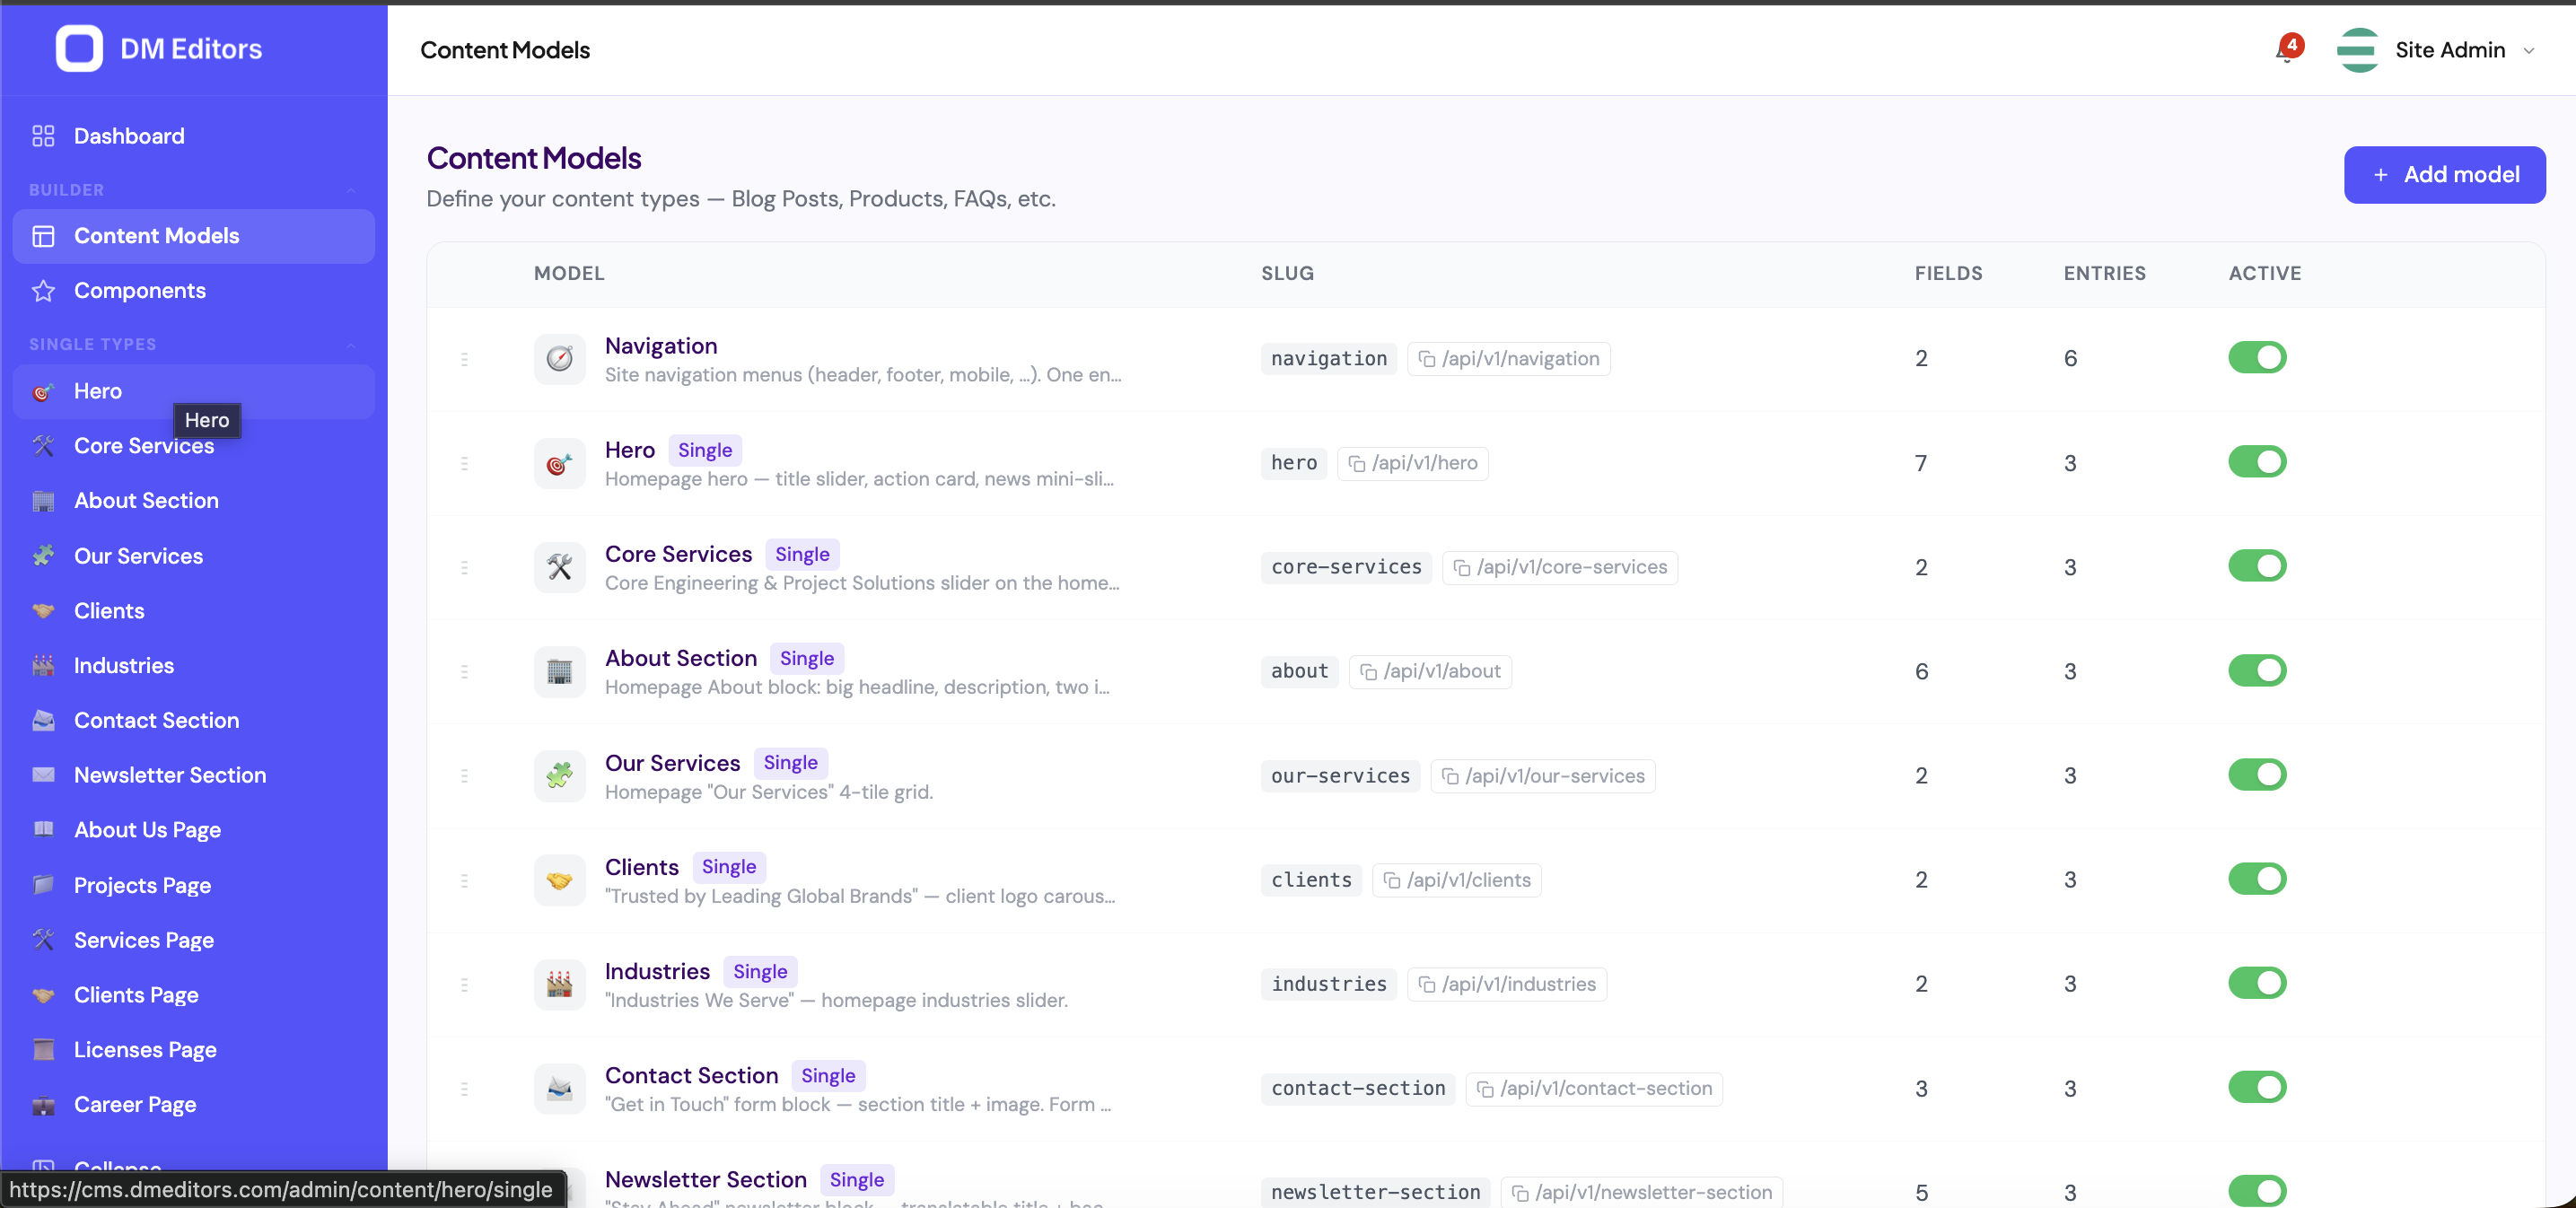
The Content Models list. - Pick a type Choose Collection. You'll have many blog posts, not just one.
-
Name it
Enter
Blog Postsas the plural name. DM Editors auto-fills the singular ("Blog Post") and slug (blog-posts). The slug becomes part of your URLs — keep it lowercase and dash-separated.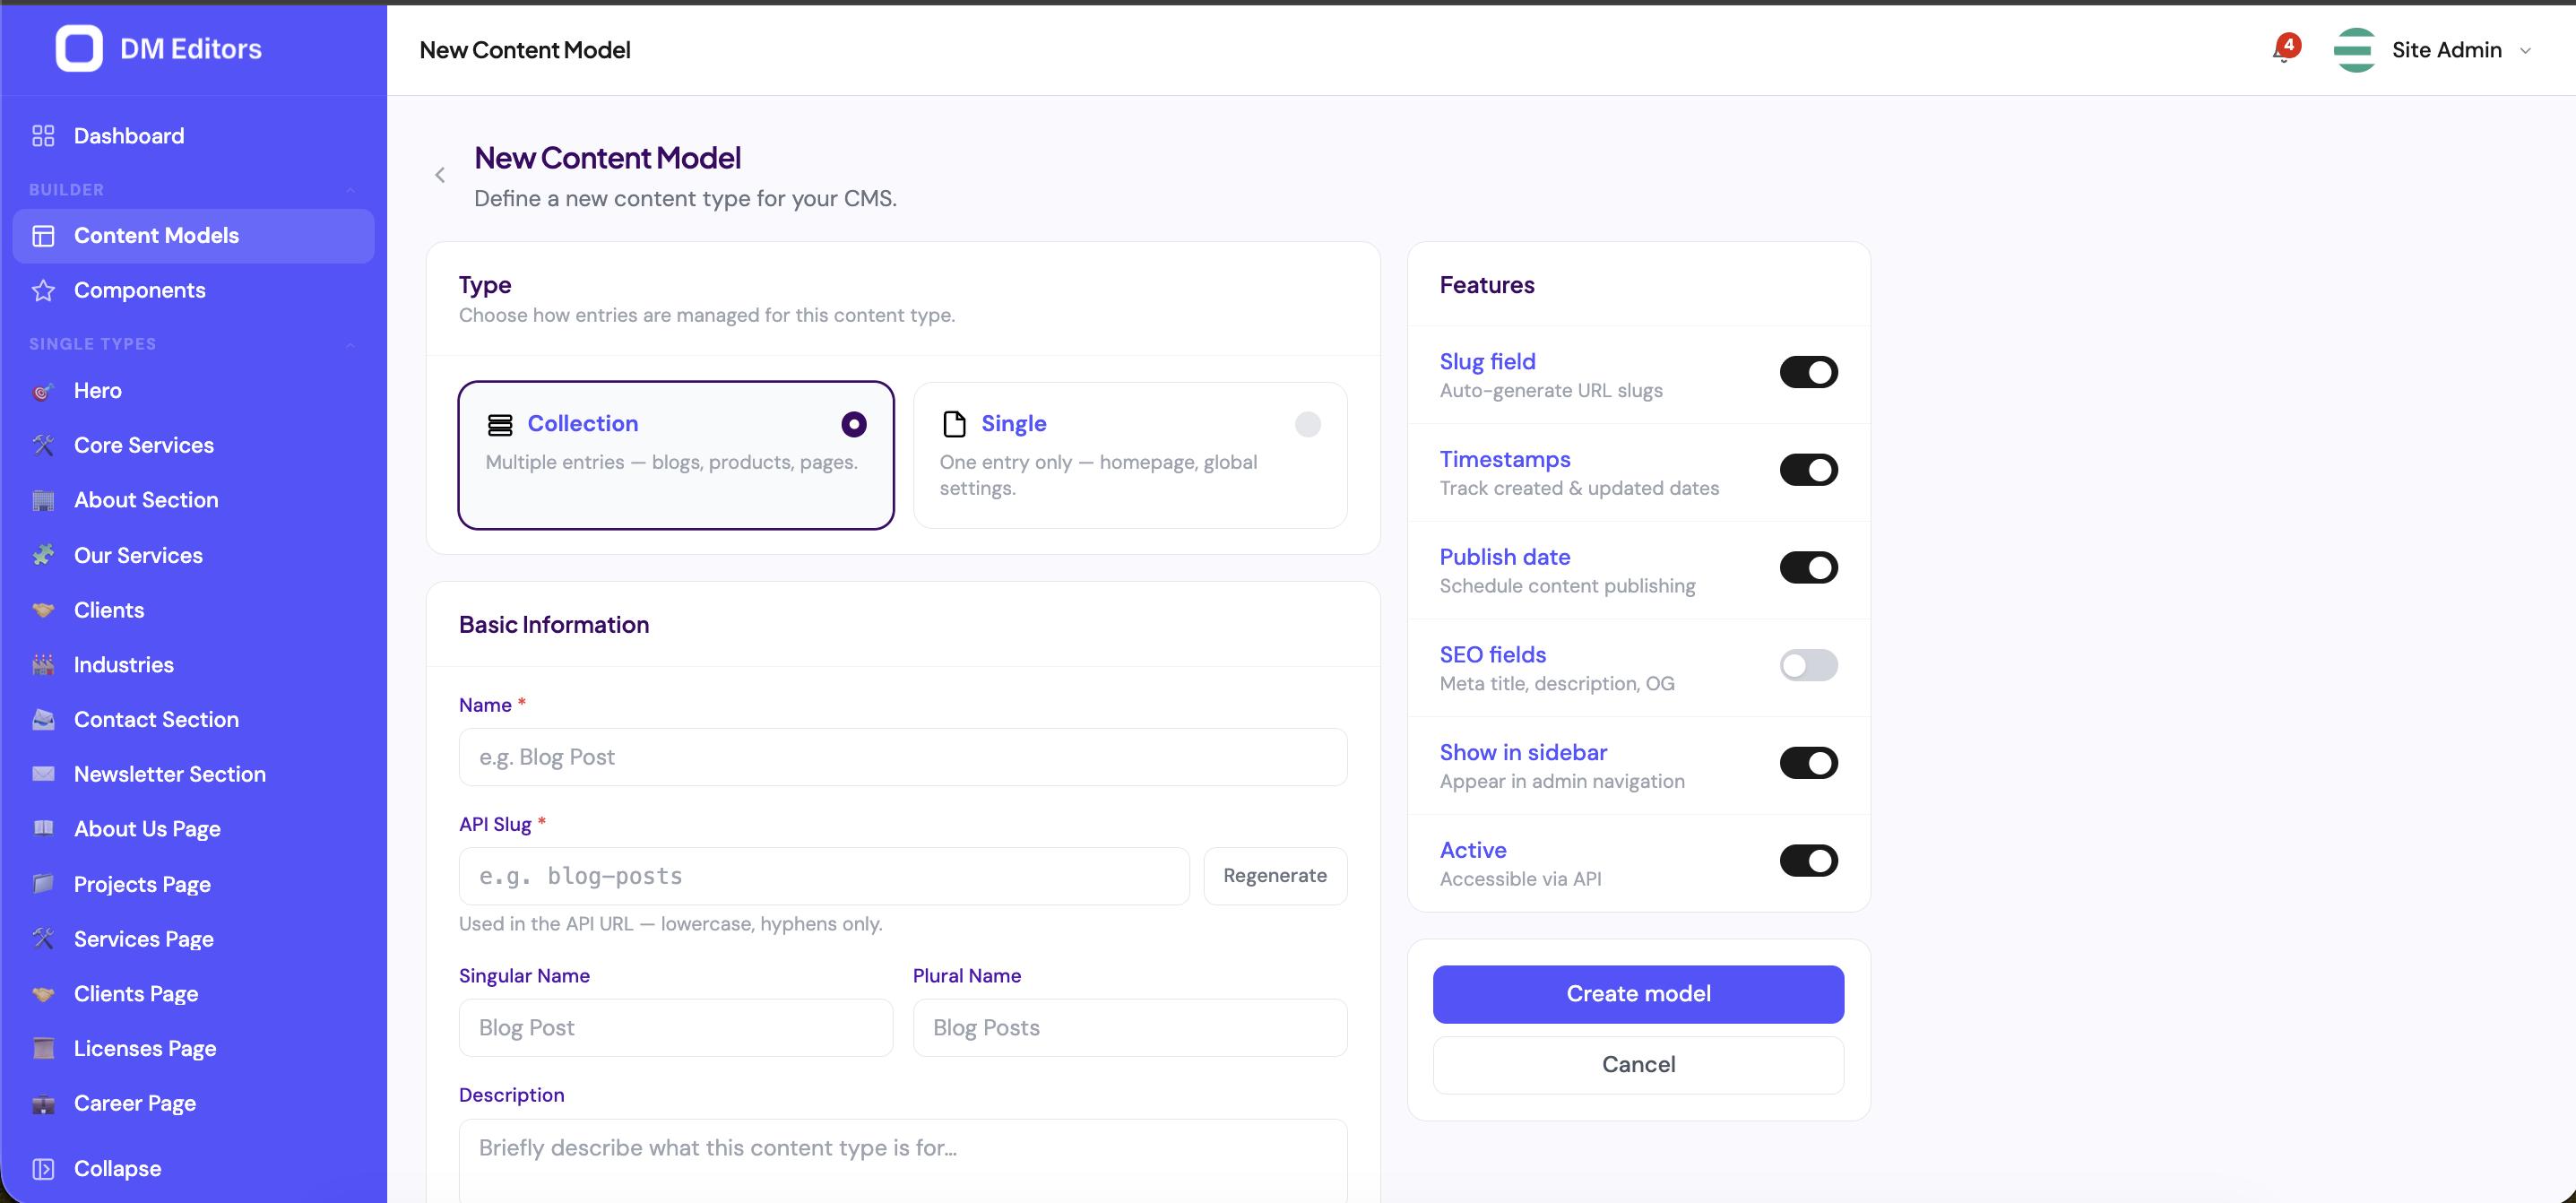
Creating a new content model. - Pick an icon Just for the sidebar — use something recognizable. A pencil or document is fine for posts.
-
Set options on the right
Toggle on:
- Has slug — yes, every post needs a URL.
- Has publish date — yes, useful for sorting.
- Has SEO — yes, for meta titles & descriptions.
- Localized — only if you publish in multiple languages.
- Save and continue to the field builder Click Save and add fields. You'll be taken to the field builder.
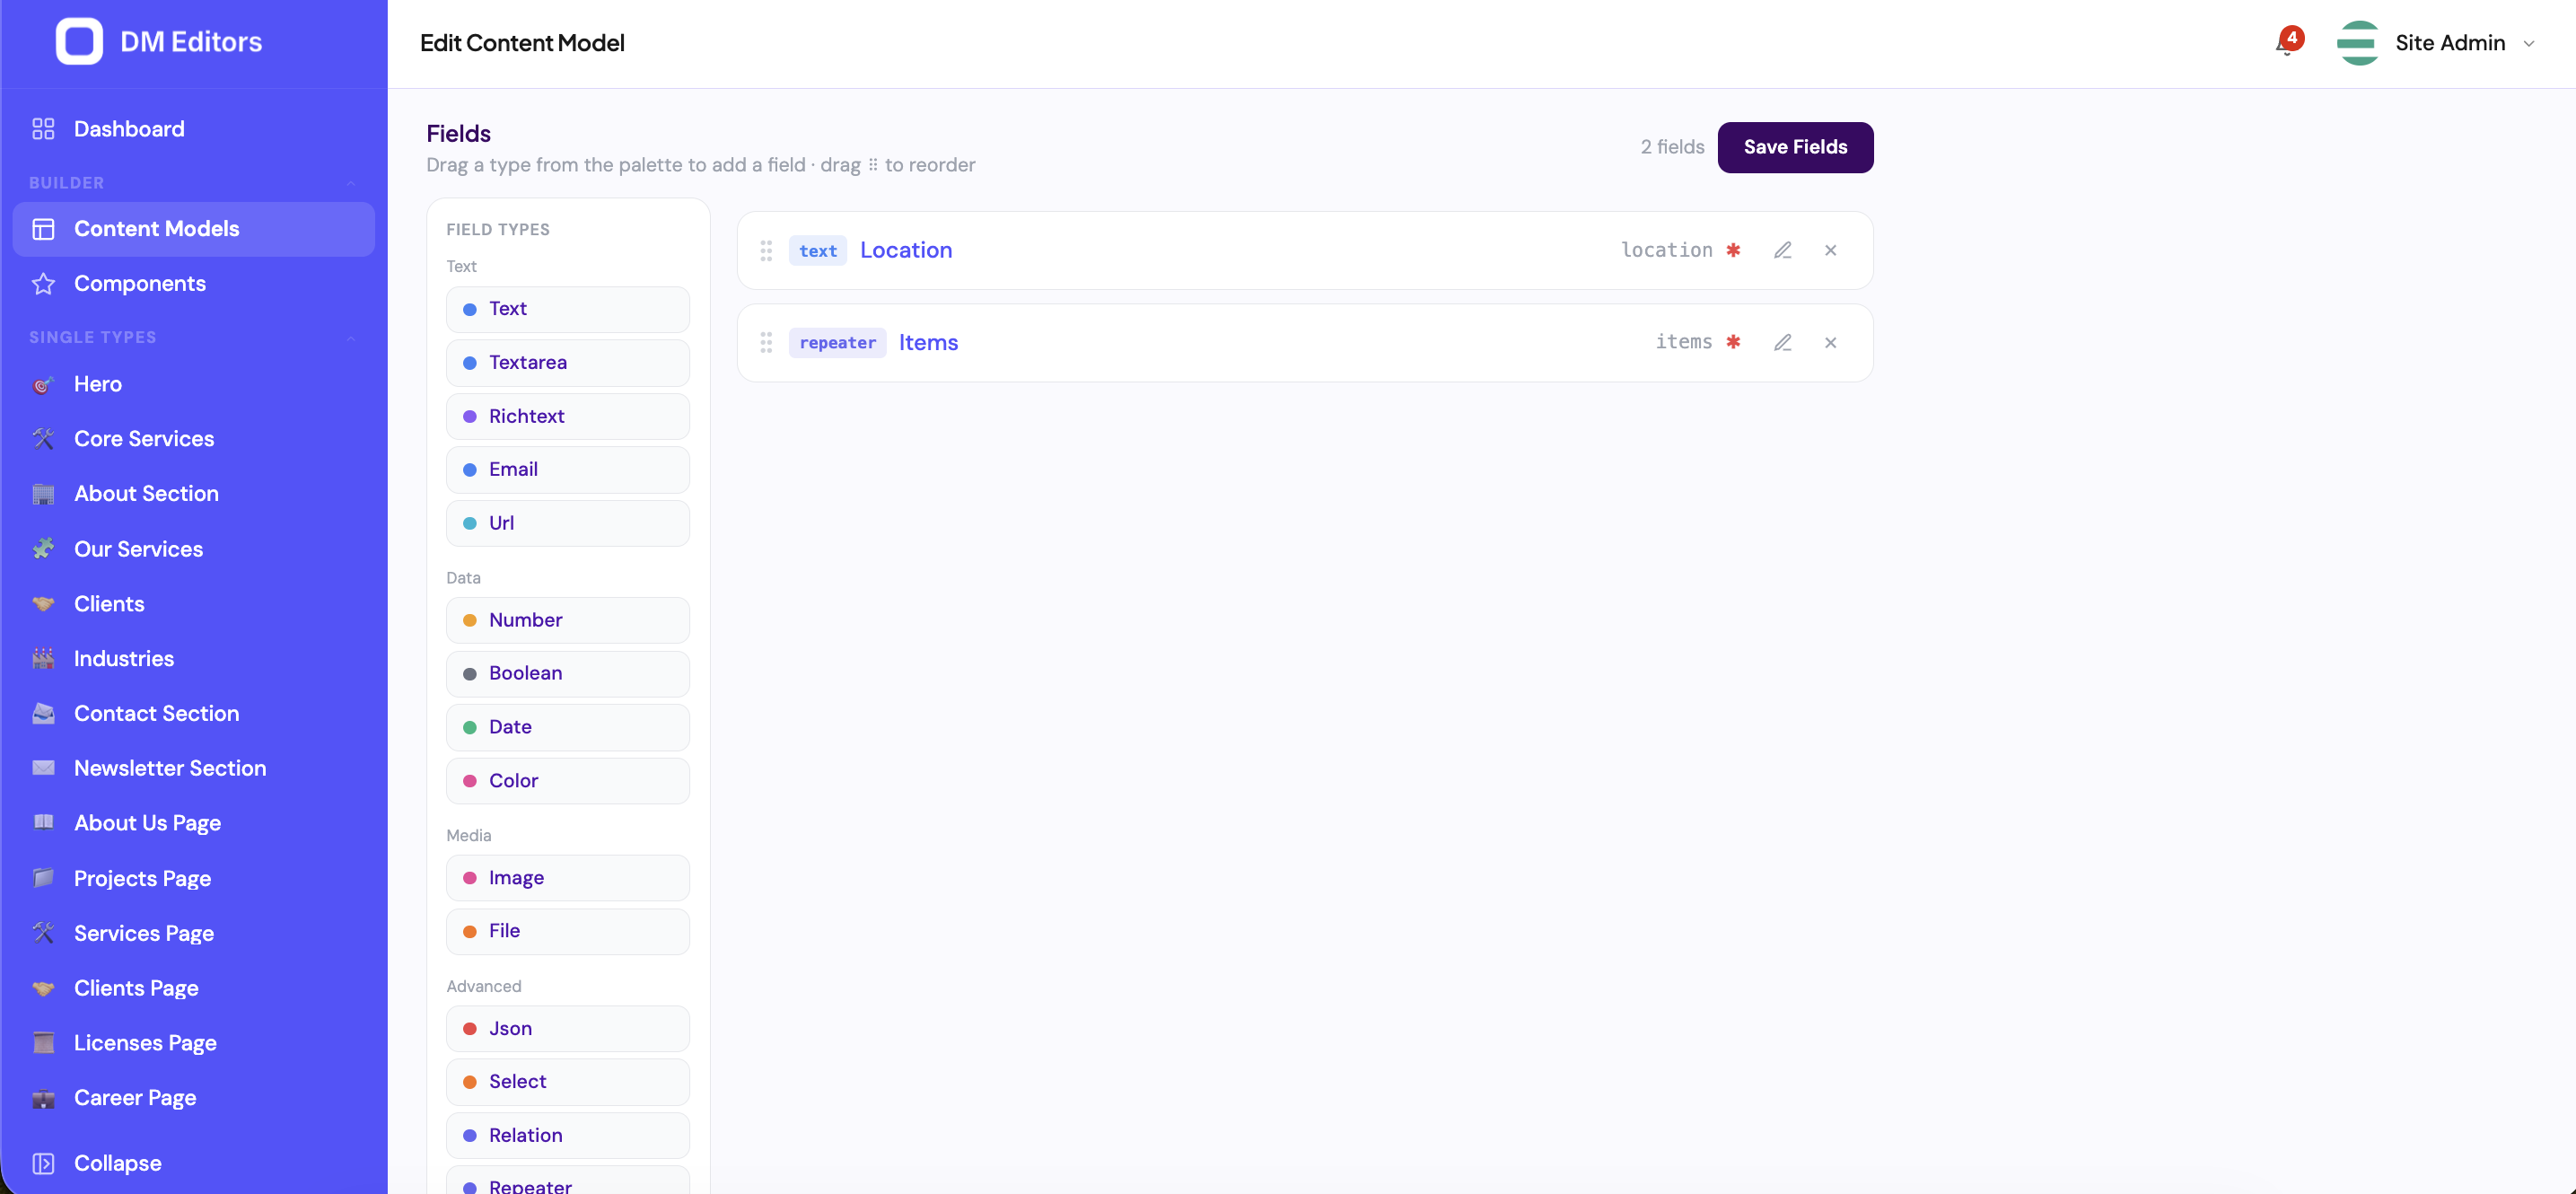
The field builder
Now you decide what makes up a blog post.
-
Drag a Text field from the palette
Label it
Title. Mark it Required. -
Drag a Textarea field
Label it
Excerpt. Set max length to 280 characters. -
Drag a Rich text field
Label it
Body. This becomes a full WYSIWYG editor with bold, links, headings, images. -
Drag a Media field
Label it
Hero image. Restrict to image/*. -
Drag a Multi-select field
Label it
Tags. Add a few example tag options or leave it free-form. - Reorder by dragging Put Title first, then Hero image, Excerpt, Body, Tags — that's the order editors will see them in.
- Click Save Your content type is ready.
All field types at a glance
| Type | Use it for |
|---|---|
| Text | Short text — titles, names, labels. |
| Textarea | Long plain text — excerpts, summaries. |
| Rich text | Formatted body content with bold/italics/headings/images. |
| Markdown | For editors who prefer Markdown over WYSIWYG. |
| Number | Prices, counts, ratings. |
| Boolean | Yes/no toggles — "Featured", "On sale". |
| Date / Date & time | Event dates, deadlines. |
| Select / Multi-select | Pre-defined option lists — categories, tags. |
| Media | Pick one file from the library. |
| Media (gallery) | Pick many files — image galleries. |
| Relation | Link to another entry — "Related posts", "Author". |
| Repeater | Repeat a group of fields — "FAQ items", "Team members". |
| Component | Embed a reusable component group. |
| Dynamic zone | Editor picks a mix of components in any order — flexible page layouts. |
| URL / Email / Phone | Validated text variants. |
| Color | Color picker — accent colors, theme overrides. |
Edit a content type later
You can add, remove, or reorder fields at any time. Existing entries keep their data — missing fields fall back to defaults and removed fields are preserved until you re-save the entry.
Renaming a fieldChanging a field's slug orphans existing data for that field. Change the label freely; change the slug only when you're prepared to migrate.
Next steps
Your model is set up. Time to create your first post.