Create & Edit Entries
Entries are the actual posts, pages, and products you publish. Here's how to create, schedule, edit, and restore them.
Create a new entry
-
Open your content type
Click Blog Posts (or whichever type) in the sidebar. You'll see the list of existing entries.
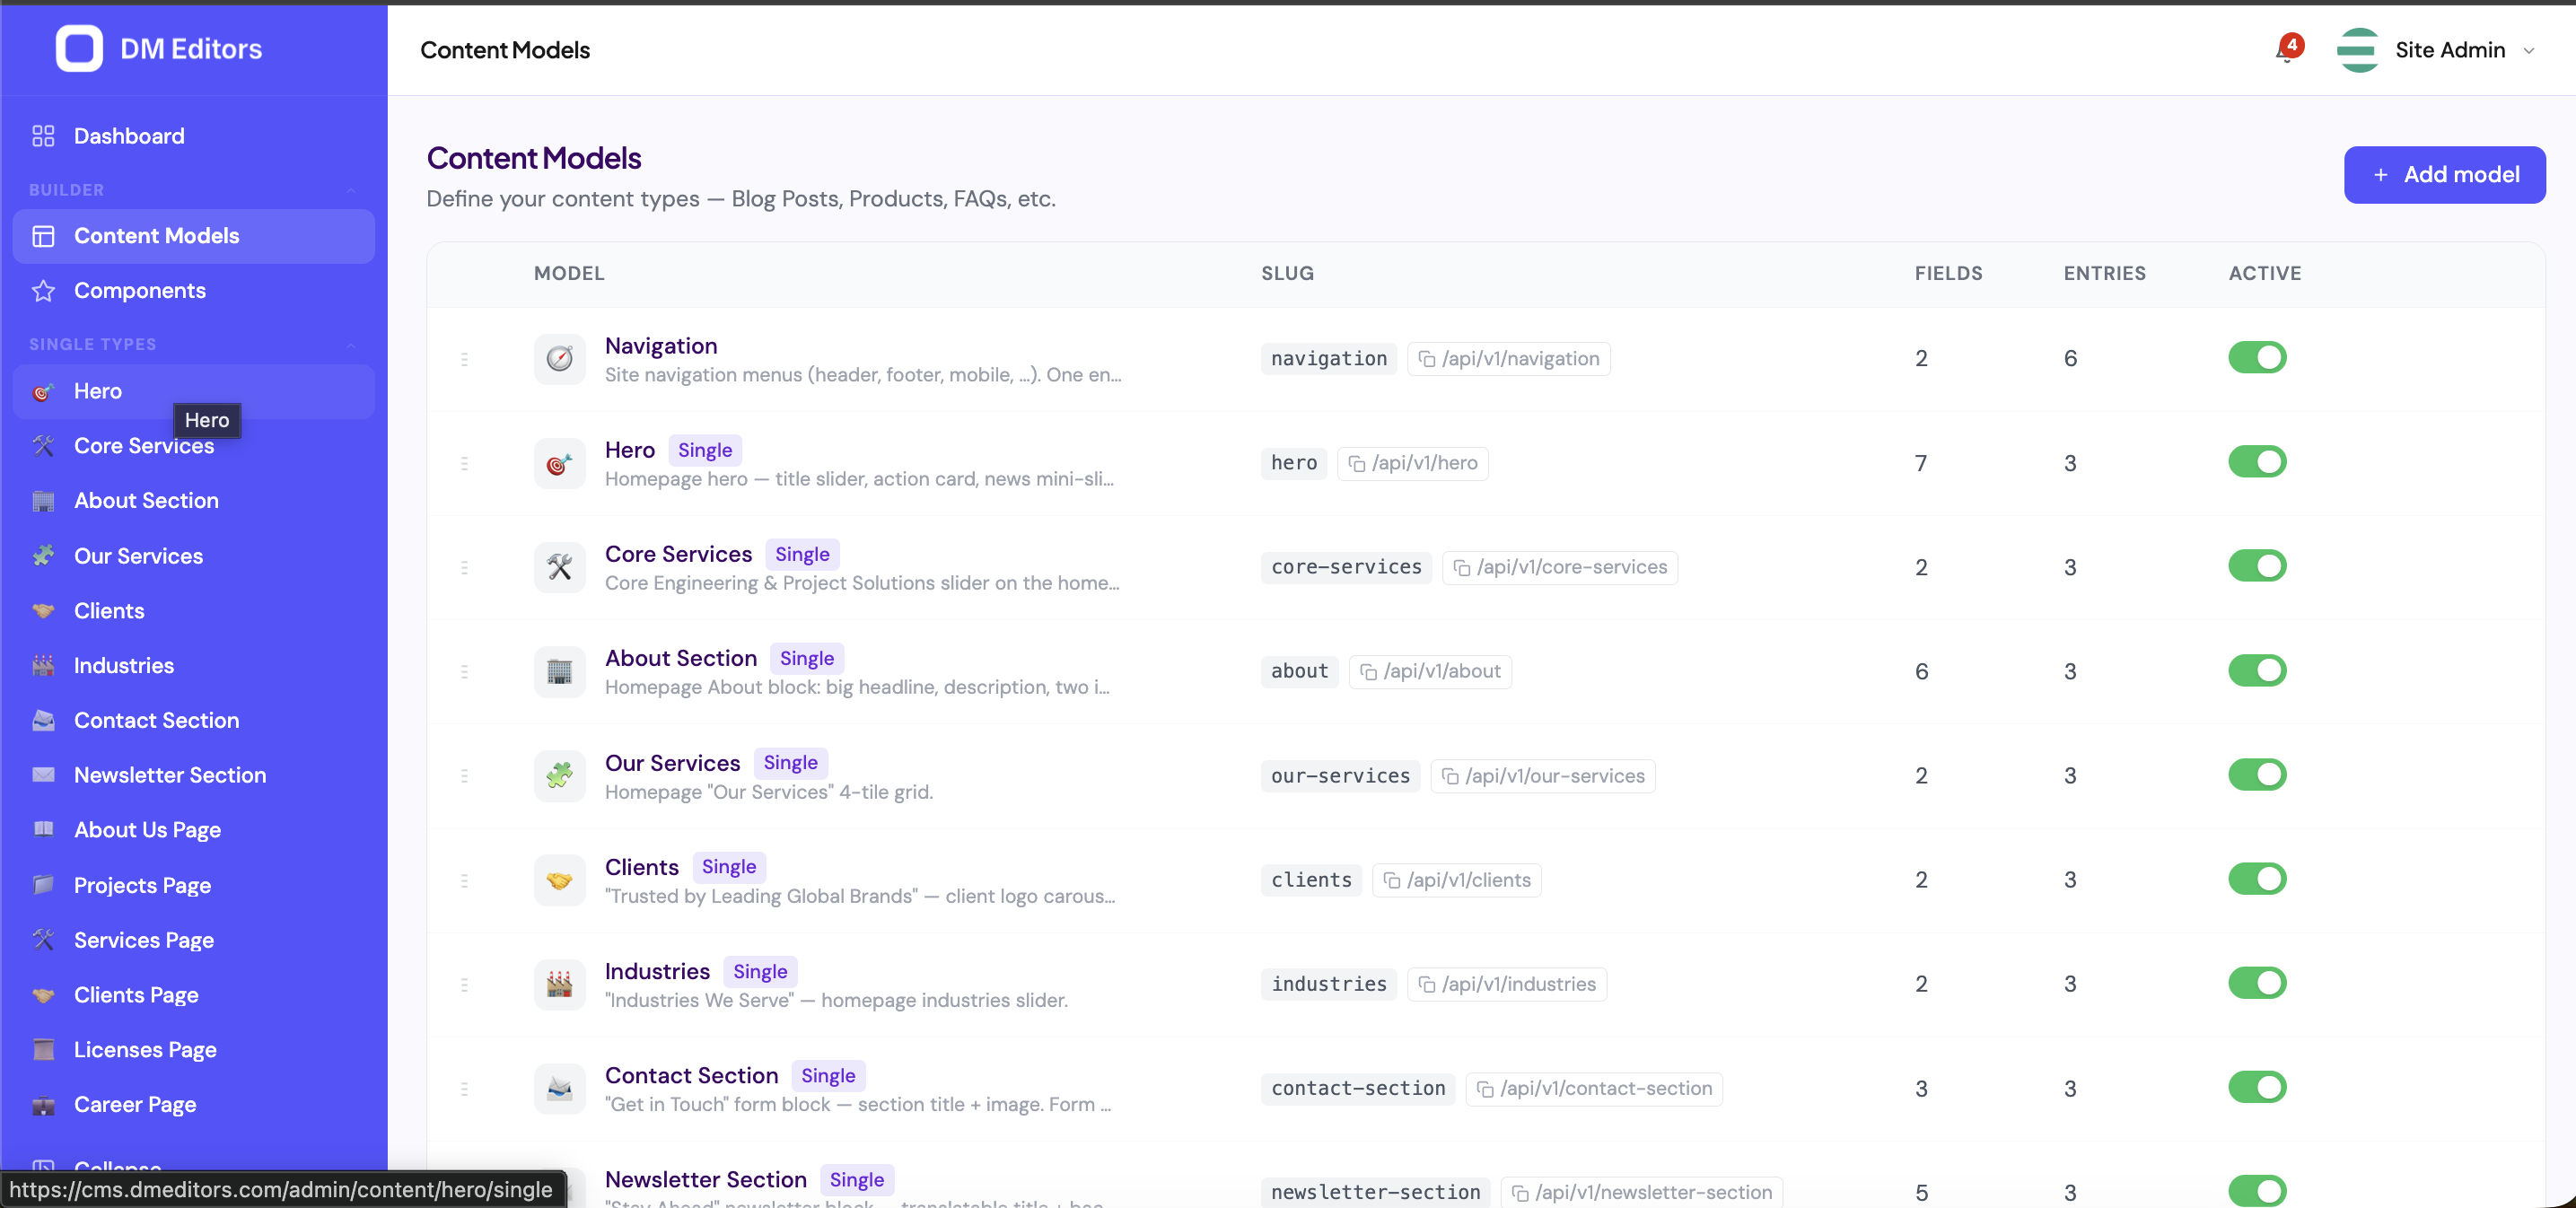
A content list view (same layout used for Blog Posts). - Click "New post" Top-right of the list. The blank entry form opens.
-
Fill in the fields
Type your title — the slug auto-fills as you type (you can edit it). Add your hero image, write the excerpt, fill the body.
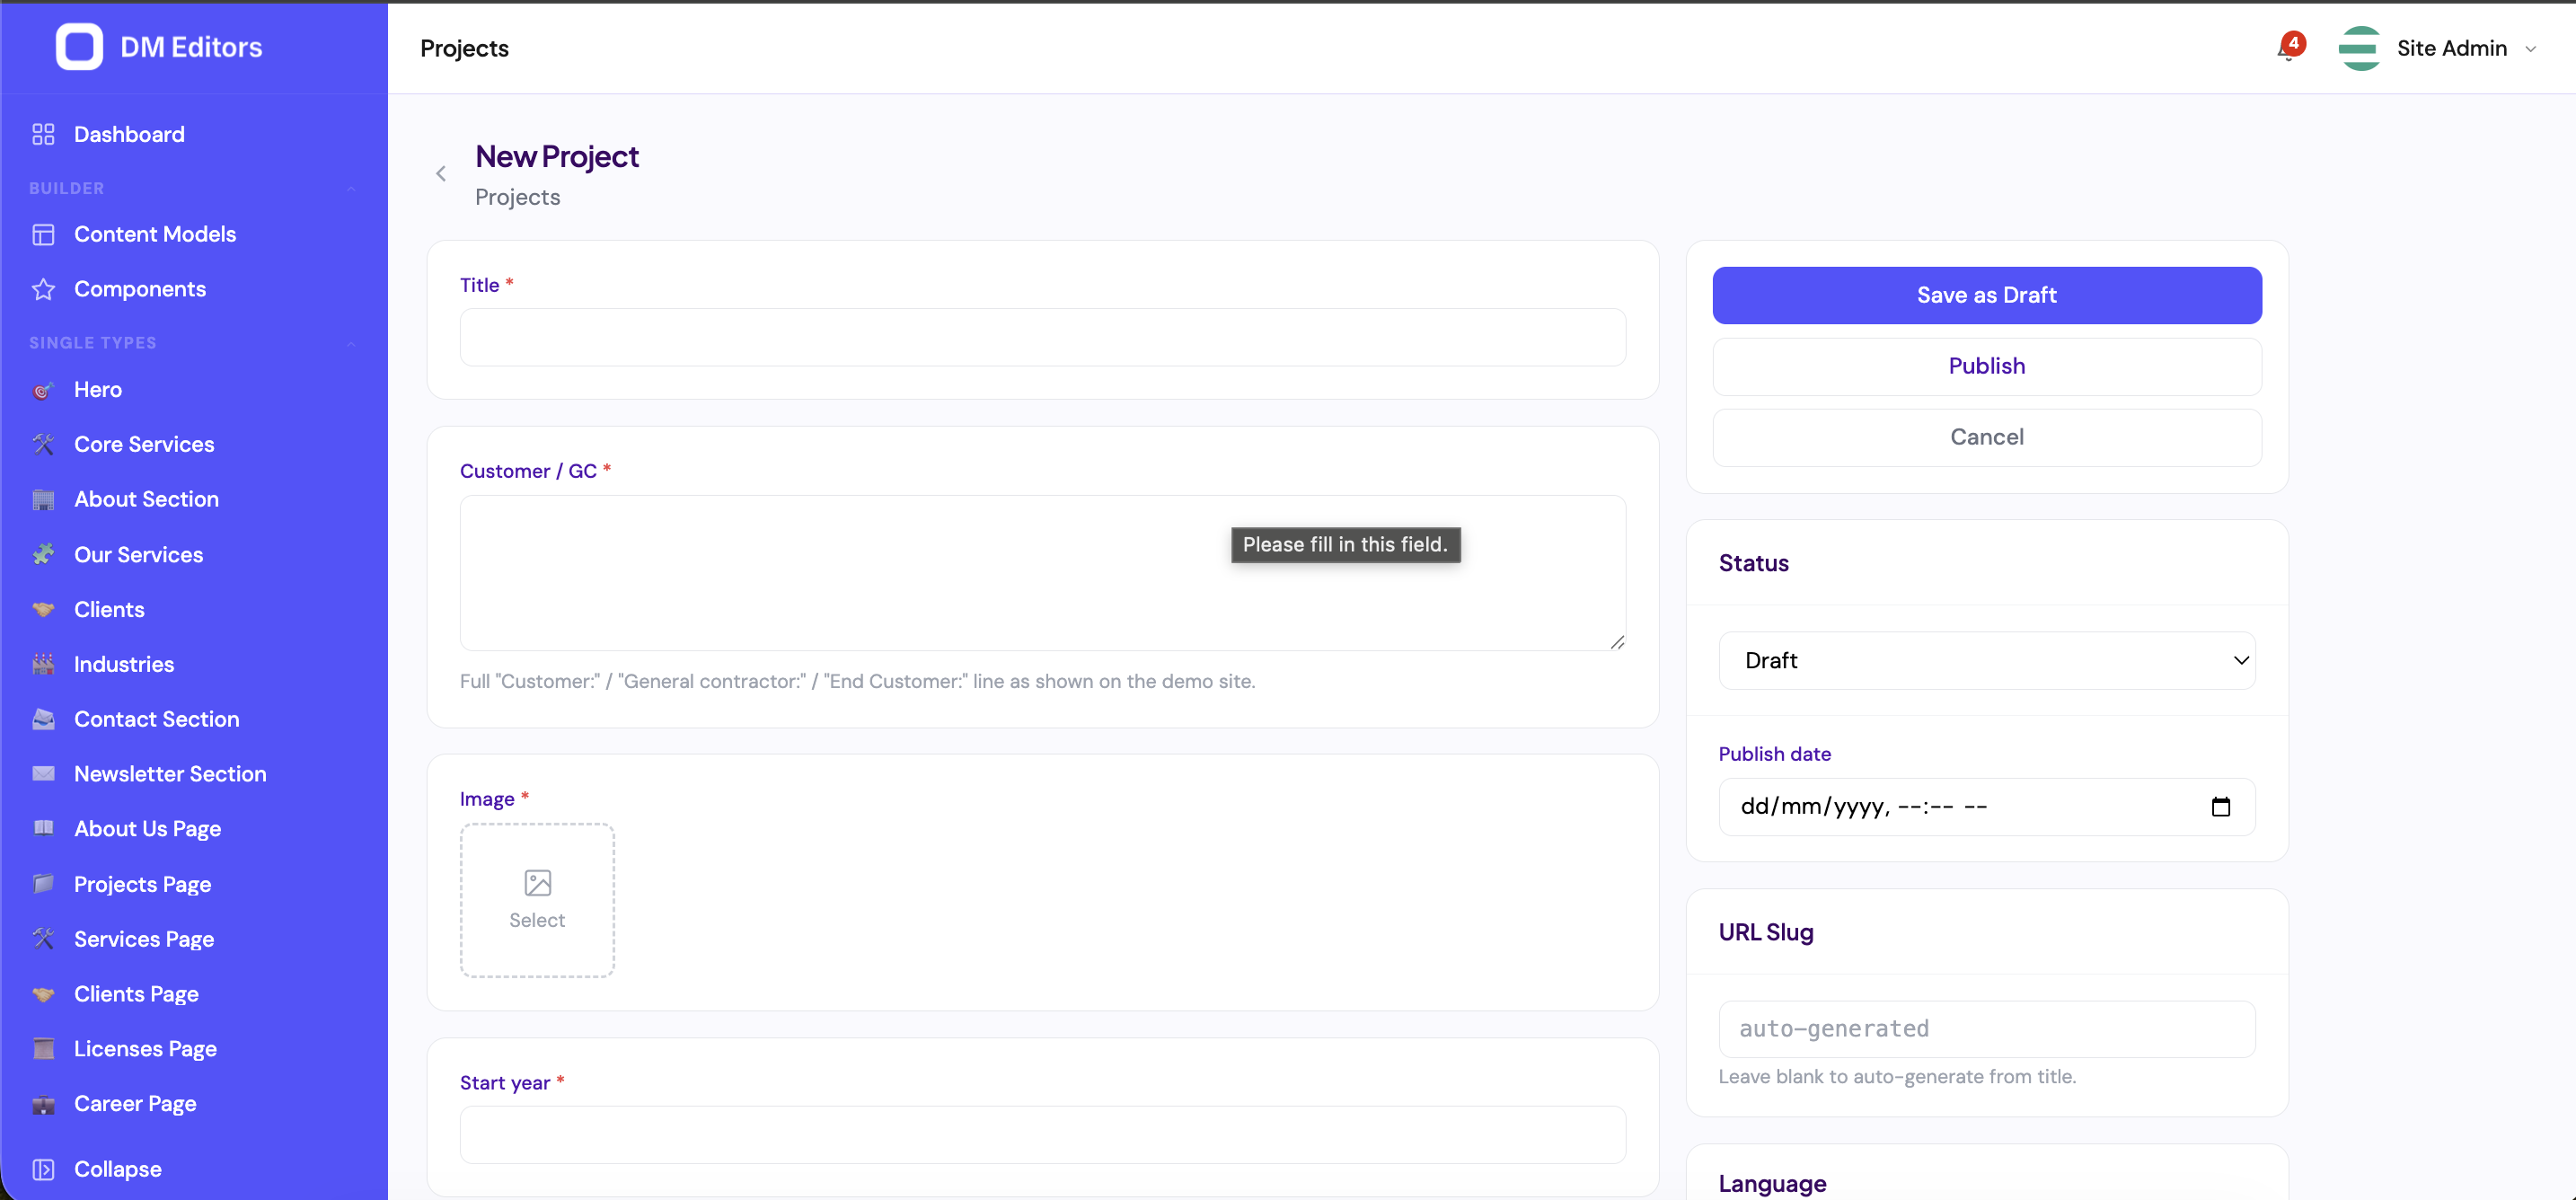
The entry edit screen. - Pick a hero image Click the media picker. Either upload a new file or pick one from your library. Add alt text (important for accessibility and SEO).
-
Format the body
The rich text editor supports bold, italics, links, headings, lists, code blocks, blockquotes, and inline images. Select text and use the floating toolbar.
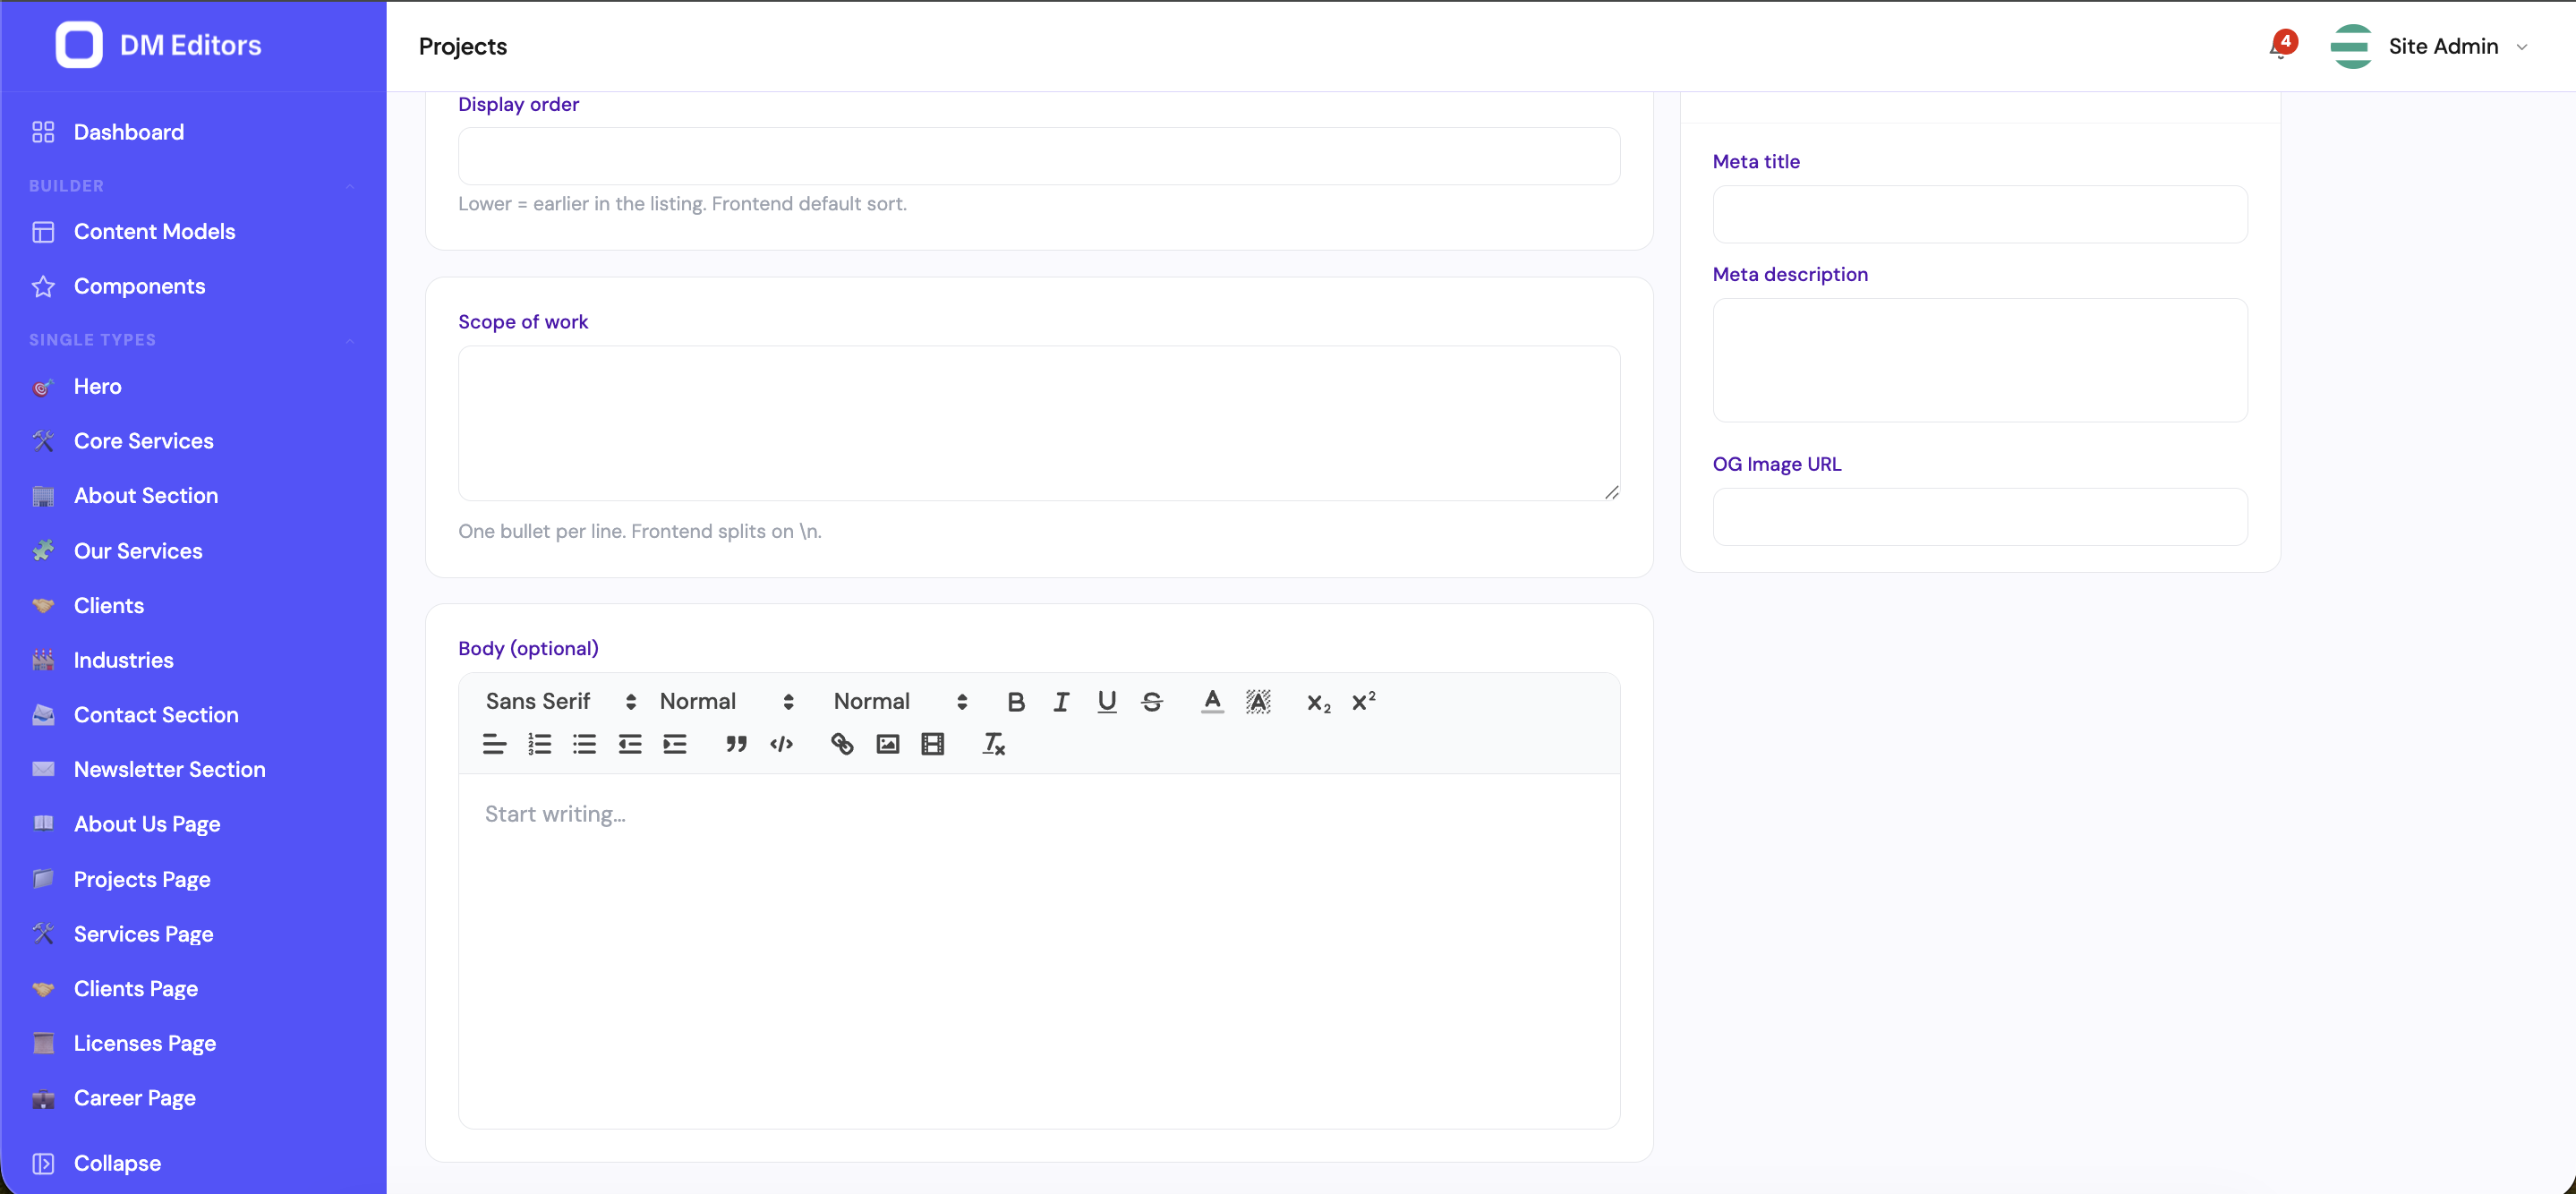
The rich text editor in the entry body. - Set the SEO panel Click SEO in the right side panel. Add a meta title (keep it under 60 chars) and meta description (under 160).
- Click "Save draft" Your post is saved but not yet visible. The button changes to Saved momentarily.
Publish, schedule, or stay in draft
In the right side panel, the Status dropdown decides who sees your entry:
| Status | What it means |
|---|---|
| Draft | Only visible inside the admin. Default for new entries. |
| Published | Live on the public site / API. |
| Scheduled | Will auto-publish at the time you set in Schedule. |
| Archived | Hidden from listings but kept for reference. |
Schedule a publish
- Set status to Scheduled.
- Pick a date and time in the Schedule field (your local time zone).
- Click Save. DM Editors will flip the status to Published at that moment.
Edit an existing entry
- Open the list, click the row of the entry you want to edit.
- Change whatever you need.
- Click Save changes. Every save creates a new revision automatically.
View and restore older versions
Made a mistake? You can roll back to any previous save.
-
Open the entry
Click Revisions in the side panel.
Revisions are shown as a timeline of saves, much like the Activity Log. - Click a revision to preview it You'll see the entry as it was at that moment.
- Click "Restore this version" The entry reverts. A new revision is created for the restore, so nothing is lost.
Find an entry quickly
- Use the search box in the list header — searches titles and bodies.
- Use the status filter to see only drafts or only published.
- Use the language filter if your model is localized.
- Press / from anywhere for global search across all types.
Bulk actions
- Tick the checkboxes next to multiple entries.
- Pick an action from the dropdown that appears above the table: Publish, Unpublish, Archive, Delete.
- Confirm.
Deleting an entrySoft-delete only — entries go to the trash and can be restored within 30 days. After that, a cleanup job removes them permanently.
Single-type entries
If your content type is a single (Homepage, About), there's no list — clicking it in the sidebar takes you straight to the editor.
Next steps
Your entries probably need images. Let's get familiar with the media library.